Vintage-Patch patches are easy to apply, and each pack includes a test sample for a trial run. *Additional sewing required for some items – please see notes at the bottom.
IMPORTANT – NEW LOWER TEMPERATURE ADHESIVE. We are in the process of introducing a new and improved lower temperature adhesive to all of our iron on patches. This means the instructions may differ from pack to pack until the roll out across the full range is completed. Please use the temperature guide in the pack insert for best results as the instructions below can give a general guide only.
Ensure the garment you wish to apply patches to can be ironed at a medium to hot iron temperature.
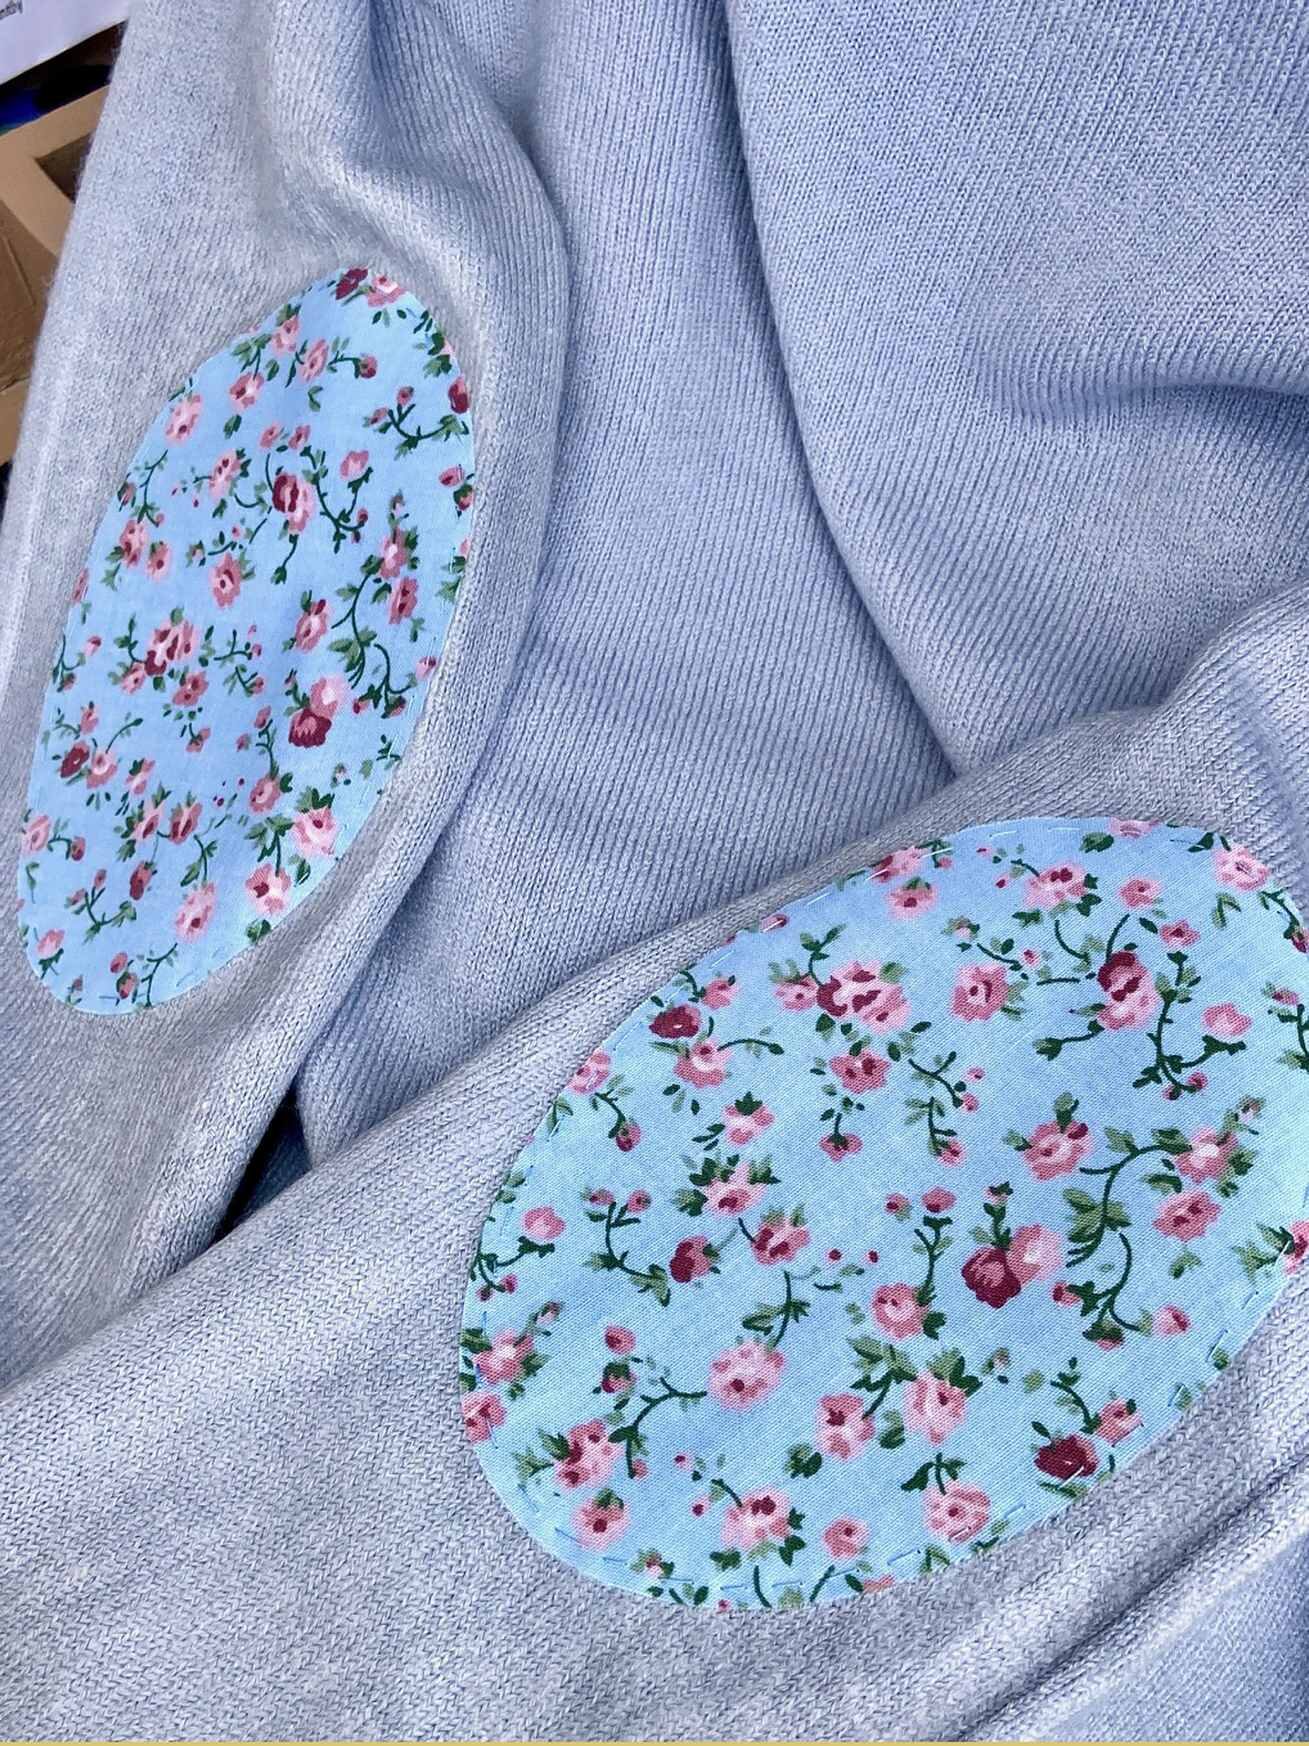
Decide on positioning. For elbow or knee patches, it’s a good idea to put the garment on, bend your arm or leg and mark your elbow or knee position on the garment with a pin..
Once you’ve placed the patch in a position you are happy with, match up with the other sleeve or leg carefully so patches are equally positioned. Mark position with pins or chalk.
Remove any water from of the reservoir of your iron and switch off the ‘steam/spray’ action as this can compromised the adhesive. Make sure your iron is cleaned of any residue on the plate.
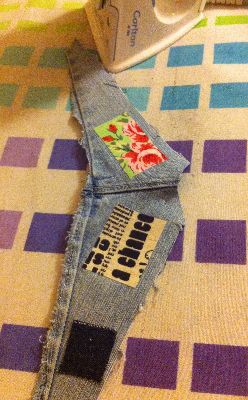
Remove the backing paper from the sample snippet in the pack. Start by using the MEDIUM (2 dot) iron setting and carry out a trial run with this onto a scrap of waste fabric. If the sample is not sticking well, raise the temperature gradually to HIGH (3 dots). Thicker patches such as denim will require more temperature and pressing time than thinner cotton ones. Use a lift and press motion for 20 to 60 seconds on each side of the sample. The aim is to fully melt the adhesive so the glue meshes with the fabric fibres of your garment – without scorching the adhesive or your garment.
Allow the snippet to cool for 20 minutes and check the bond, which should be firm once it has cooled and ‘set’ (the patch may still lift up while the glue is warm). If a good bond was achieved with the sample, you have established the correct temperature for your iron.
Remove backing before application.
Carefully lift up a corner of the patch’s backing paper so you can see the shiny glue surface (if the glue is not visible on the fabric, you may have lifted it with the backing (in this case, re-iron the lifted area of backing on to the patch at medium heat, allow to cool and try again).
Place patch into position glue side down, and press over all areas of it from back and front for 20 to 60 seconds using a lift and press motion, smoothing away any air bubbles from centre to edges. This will ensure the glue has melted and the entire piece is well bonded. Lay the fused parts flat and allow to cool for about 20 minutes.
*Although in most cases we recommend you iron straight on top of the fabric, for some garments use of a press cloth may be appropriate. Please use the thinnest cloth possible (eg cotton muslin) so that you still reach the required temperature to melt the glue and achieve a good bond. You may need extra pressing time also. This is especially true of garments and patches made of thicker fabrics such as denim or wool.
A simple running stitch
Our adhesive may not to need extra sewing on some tight weave fabrics such as cotton, polyester cotton and denim. However, adherence depends optimal application methods and the amout of wear, tear and washing a garment will receive – tumble drying for example is very likely to loosen the bond. Therefore we always recommend overstitching for a more attractive and long lasting ‘finish’ to the garment. The can be carried out very easily and quickly with running or blanket stich.
*You can also machine stitch using straight or zig zag, although accessing sleeve or trouser legs with a machine can be tricky.
As garments and irons vary, we cannot guarantee a permanent no sew bond in all cases. If you find that your patches lift after application, or become loose after washing and wear, simply re-iron and then secure the edges with running stitch for a long lasting and attractive finish.
Vintage-Patch fabrics are prewashed for colourfastness, but we do recommend that if strongly coloured patches such as red are applied to light coloured garments, you add a ‘colour catcher’ cloth to the first couple of washes. Our fabrics are suitable for machine or hand washing at 40 degrees. *Tumble drying is not recommended for unstitched patches.
To recap – stitching is required for:
Items dried using a tumble dryer Heavy duty items that are frequently laundered Loose weave, textured, napped or moderately stretchy fabrics. Our patches are not suitable for Nylon, fabrics with waterproof or special finishes or very stretchy fabrics
20% OFF your next order and a free patching handbook!
Subscribe to emails from Vintage-Patch and download my new pictorial patching guide ‘Step by Step to Success with Iron on Patches’ completely FREE! What’s more, the ebook contains a 20% off voucher code for your next order, whether it be for patching supplies or vintage and preloved clothing.
You’ll also be the first to hear about eco friendly repair tips and pop up shop dates from my Oxfordshire studio