How to use Vintage-Patch Iron on Fabric Adhesive Sheets
IMPORTANT – NEW LOWER TEMPERATURE ADHESIVE. We are in the process of introducing a new and improved lower temperature OEKO-TEX adhesive to all of our iron on products. This means the instructions may differ from pack to pack until the roll out across the full range is completed. Please use the temperature guide in the pack insert included with your purchase for best results as the instructions below gives a general guide only.
Our new lower temperature heat activated adhesive sheet offers the latest standard in bonding agents developed for the clothing industry. It provides a more robust result than many of the fusible products currently on the market, becoming almost permanent and fully machine washable at 40 degrees on many fabrics.
Lots of of uses: appliqués, motifs, letters and numbers to personalise items, hemming strips, repairs patches and much more.
We were so impressed by this product that we changed to using it for all new products in the ‘Vintage-Patch’ range of iron on elbow, knee and repair patches. Now you can use it too, to make iron on shapes of your choice in your own fabrics, without further sewing * in many cases.
The sheet size is approximately A4 (21cm x 30cm)
Check that the fabric you will be using can be ironed at MEDIUM (2 dots) or 130-150 degrees temperature. A lower temp can be tried but you must ensure the adhesive fully melts and bonds with the fabric fibres to achieve a good result. Always carry out a test with the sample snippet provided.
Remove any water from the iron reservoir.
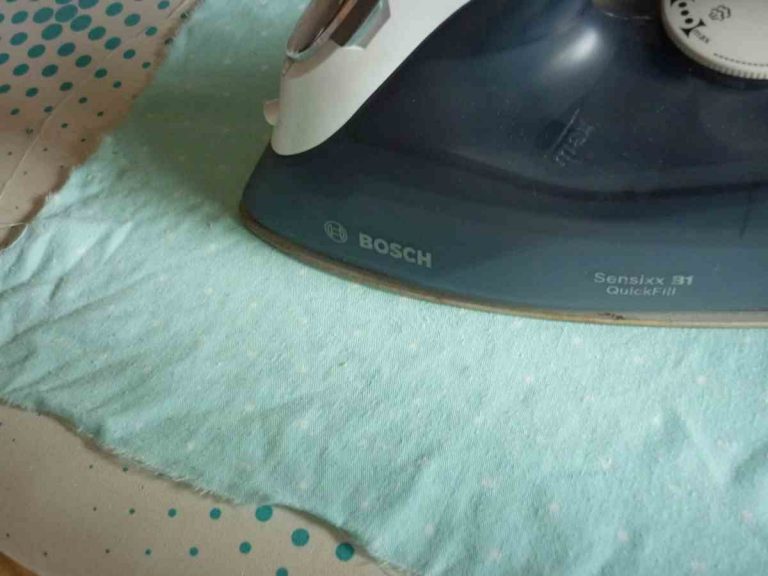
Press your fabric to remove any wrinkles. Then place shiny (glue) side of the sheet down on the back of your piece of fabric.
Starting with the iron at LOW temperature (1 dot) or 110 degrees, to avoid blistering of the adhesive apply DRY iron heat to fix it into position, smoothing from centre to edges to disperse any air pockets. Raise iron temperature gradually to the medium setting 130℃ – 150℃ (2 dots) to melt the adhesive sufficiently for firm adhesion.
TEMPERATURE NOTE The new adhesive sheet works best by gradual increase in temperature during initial application to avoid blistering. Always start with a LOW setting and increase as required.
Ensure there is no glue residue on the iron plate and then repeat the process from the top of the fabric to get a smooth finish.
Allow to cool.
*run the iron over a damp cloth a few times to clean the plate of any residues if necessary.
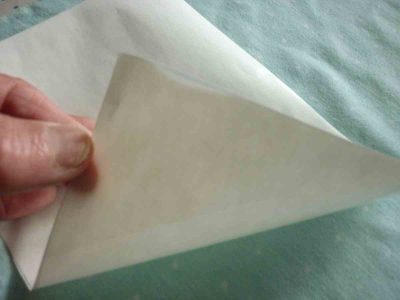
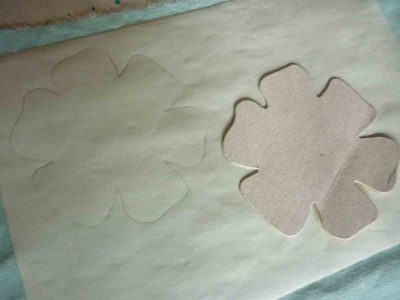
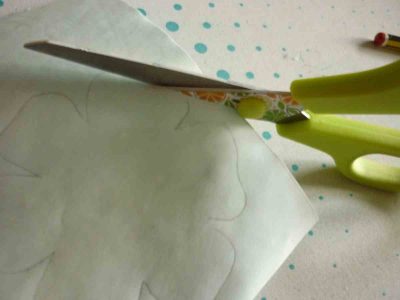
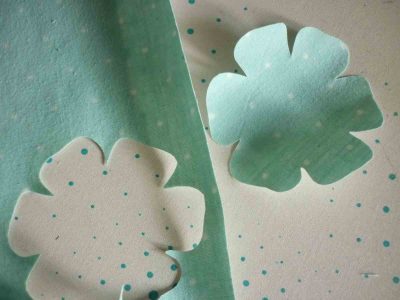
Draw out the motif or shape you require on the glue sheet – a template makes this job easier. Cut out the shape and your design is ready to use.
TIP: *Reverse letter and number templates so they’ll be the correct way round on the fabric side!
To apply your shape to a garment, home furnishing or other project, follow the instructions below.
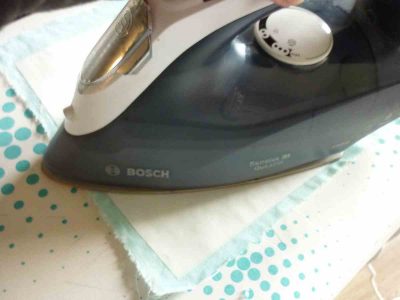
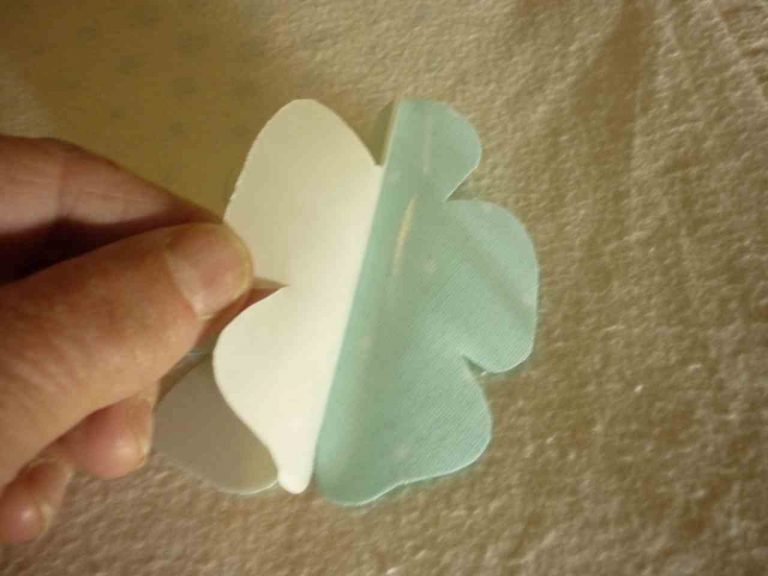
1 Carefully lift up a corner of the patch’s backing paper so you can see the shiny glue surface (if the glue is not visible on the fabric, you may have lifted it with the backing (in this case, re-iron the lifted area on to the patch, allow to cool and try again).
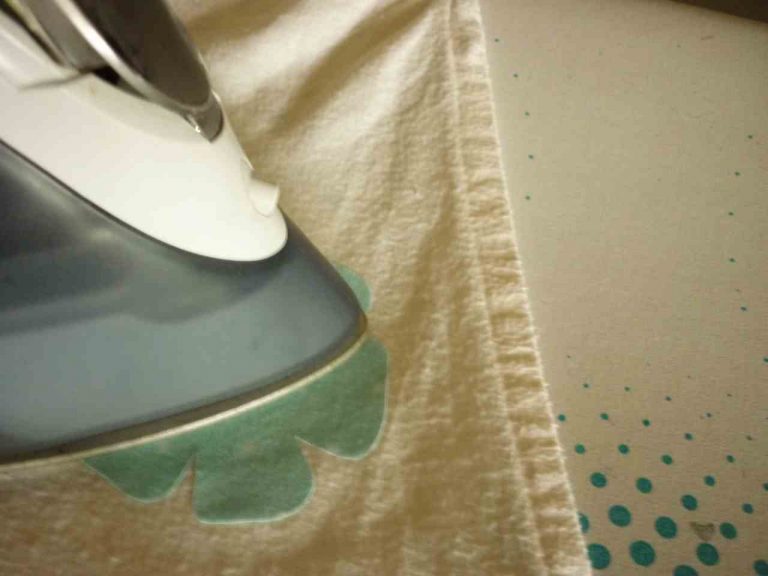
2 Make sure your iron is cleaned of any residue on the plate. Then heat it to the MEDIUM (2 dots, 130-150 degrees) setting – depending on your garment. All irons differ slightly so if you find you need to increase the temperature above this to HIGH (3 dots, 160+ degrees) to achieve a good bond, do so with caution to avoid scorching adhesive or fabric
3 Place patch into position glue side down, and press over all areas of it firmly for 20 to 60 seconds to ensure the glue melts and the entire piece is well bonded. Press again for 20 – 60 seconds from the rear of the patch.
4 Light fabrics will require less ironing time than heavier ones such as denim and corduroy. If necessary, you can protect the patch or your garment by using a thin dry press cloth but allow extra pressing time and you may need to increase the heat setting for effective bonding. Pay attention to the patch edges. If they lift during ironing, keep pressing till they stick firmly. Always test the sample snippet provided first to judge correct iron temperature for your fabrics.
5 Lay the fused parts flat and allow to cool for about 20 minutes.
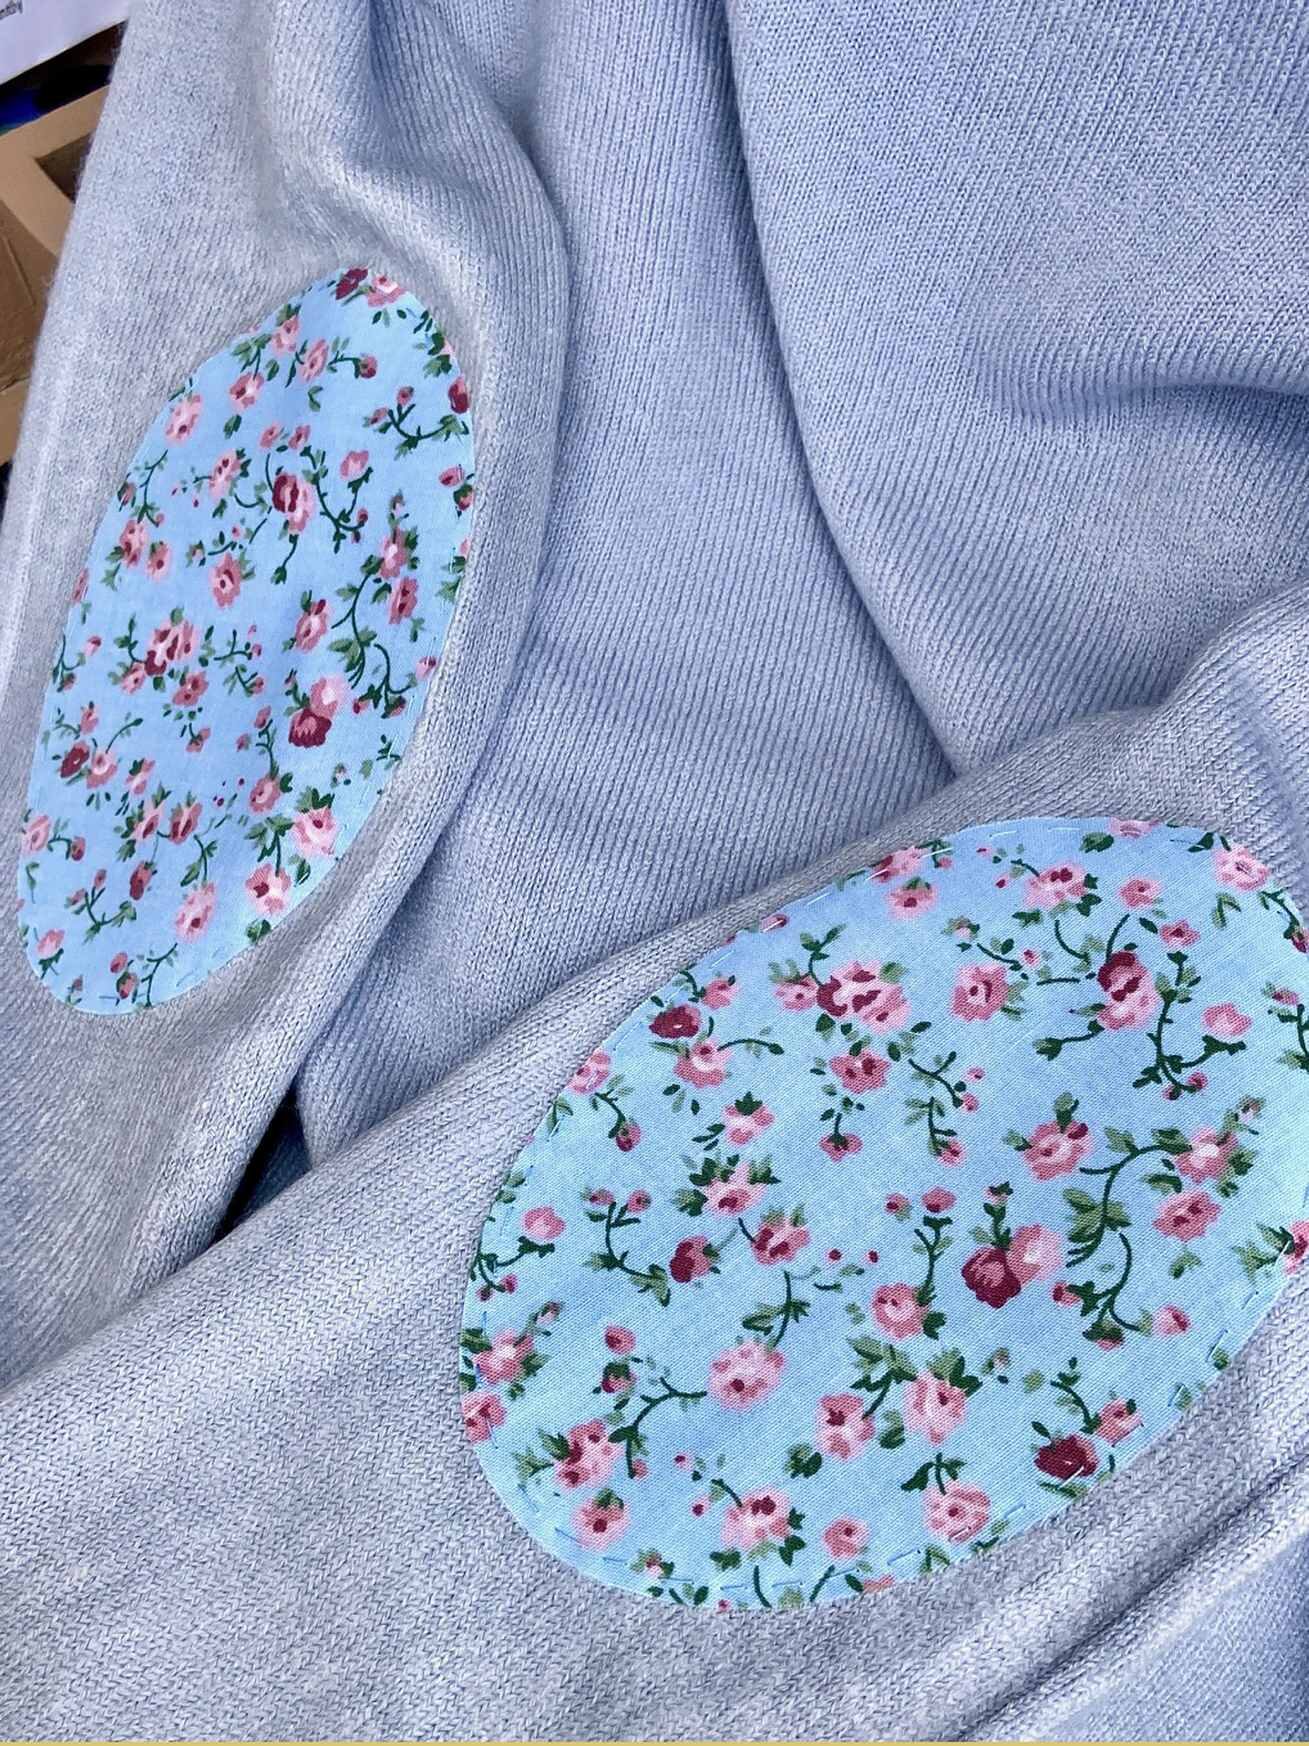
6 Although the adhesive can provide a good bond on many fabrics, because of variables in the process, we always recommend overstitching for a more attractive and long lasting ‘finish’ to the garment. This can be carried out very easily and quickly with running or blanket stich around the edge.
7. Our pictures show a simple running stitch in contrast thread which is plenty to keep your patch in place though washing wear and tear.
*There are some fabrics and situations which will not be suitable for a good adhesive bond. Please see the notes below for details.
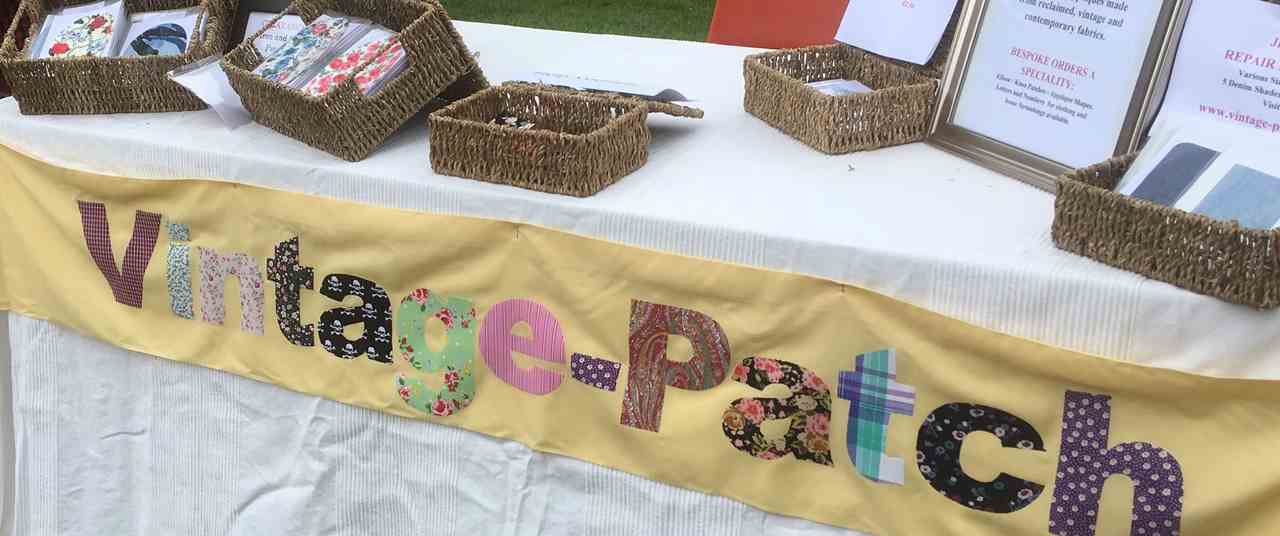
The letters on this fun banner were made using our adhesive sheets, fabric remnants and letter templates printed out on an ordinary printer.
Important information about our adhesive
Our new low temperature adhesive is based on OEKO-TEX raw materials and is designed to bond to many widely used tight weave, smooth surface fabrics such as cotton, cotton/polyester, denim, and other cotton blends so long as they can withstand Medium temperatures during the iron on process. Once in place the item is fully machine washable and can be ironed as normal.
Always use LOW iron temperature in the initial fix of sheet to fabric, raising the heat gradually for a firm adhesion.
Additional stitching required: – Garments which will be tumble dried with heat – Heavy duty items that are frequently laundered – Loose weave, textured, napped or moderately stretchy fabrics. – An improved finish and appearance on any garment – Longevity of the repair on any garment Our adhesive is not suitable for Nylon, fabrics with waterproof or special finishes or very stretchy fabrics
As garments and domestic irons vary, we cannot guarantee a permanent no sew bond in all cases and always recommend additional stitching around the edges of the patch or fabric shape. If you find that your motif lifts after application, or becomes loose after washing and wear, simply re-iron and secure the edges with a line of running stitch in matching or contrast thread for a long lasting and attractive finish.
£7.99Select options
This product has multiple variants. The options may be chosen on the product page
20% OFF your next order and a free patching handbook!
Subscribe to emails from Vintage-Patch and download my new pictorial patching guide ‘Step by Step to Success with Iron on Patches’ completely FREE! What’s more, the ebook contains a 20% off voucher code for your next order, whether it be for patching supplies or vintage and preloved clothing.
You’ll also be the first to hear about eco friendly repair tips and pop up shop dates from my Oxfordshire studio