How to Repair your Jeans with Vintage-Patch Iron on Patches
Don’t consign your much loved jeans to the bin – repair them with a patch from Vintage-Patch. Our patches are easy to apply, and each pack includes a test sample for a trial run.
IMPORTANT – NEW LOWER TEMPERATURE ADHESIVE. We are in the process of introducing a new and improved lower temperature adhesive to all of our iron on patches. This means the instructions may differ from pack to pack until the roll out across the full range is completed. Please use the temperature guide in the pack insert for best results as the instructions below can give a general guide only.
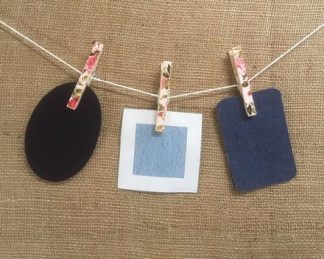
There are lots of ways to patch your jeans – with matching or contrast denim, with a lightweight cotton in a variety of prints and plains, or from underneath the tear using one of our Jeans repair patches. Examples of each of these are show in the photo
Please note, although our patches are ‘iron on’ additional stitching is highly recommended for: – Garments which will be tumble dried with heat – Heavy duty items that are frequently laundered – Loose weave, textured, napped or moderately stretchy fabrics. – An improved finish and appearance on any garment – Longevity of the repair on any garment Our patches are not suitable for Nylon, fabrics with waterproof or special finishes or very stretchy fabrics
Our denim patches are available in a variety of shapes including oval, rectangle, square, heart, flower and circle. Denim shades are faded distressed blue, mid blue, dark blue, black and grey.
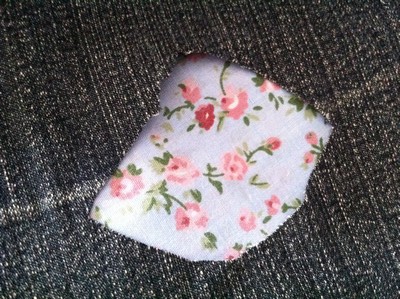
Pictured left is a small tear which we will repair with a heart shaped dark blue denim iron on patch. Firstly iron the area so any flaps are lying flat.
Check the patch is large enough to cover the tear – this heart shaped dark denim one we’ve chosen is plenty big enough.
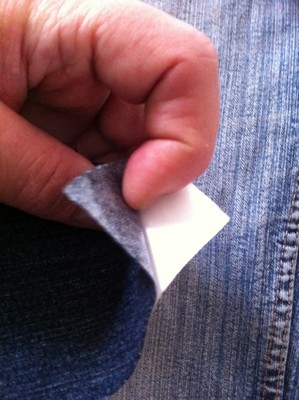
Carefully peel away the backing paper from the patch.
Place patch in position shiny (glue) side down.
With a Medium (2 dots) to Hot (3 dots) dry iron, press for 20 – 60 seconds from both sides of the repair until a good fix has been achieved. The glue needs to fully melt and mesh with the fabric fibres for a strong bond. *Please see pack insert instructions for temperature guide relevant to the patches you have purchased.
Lay the fused parts flat and allow to cool for about 20 minutes.
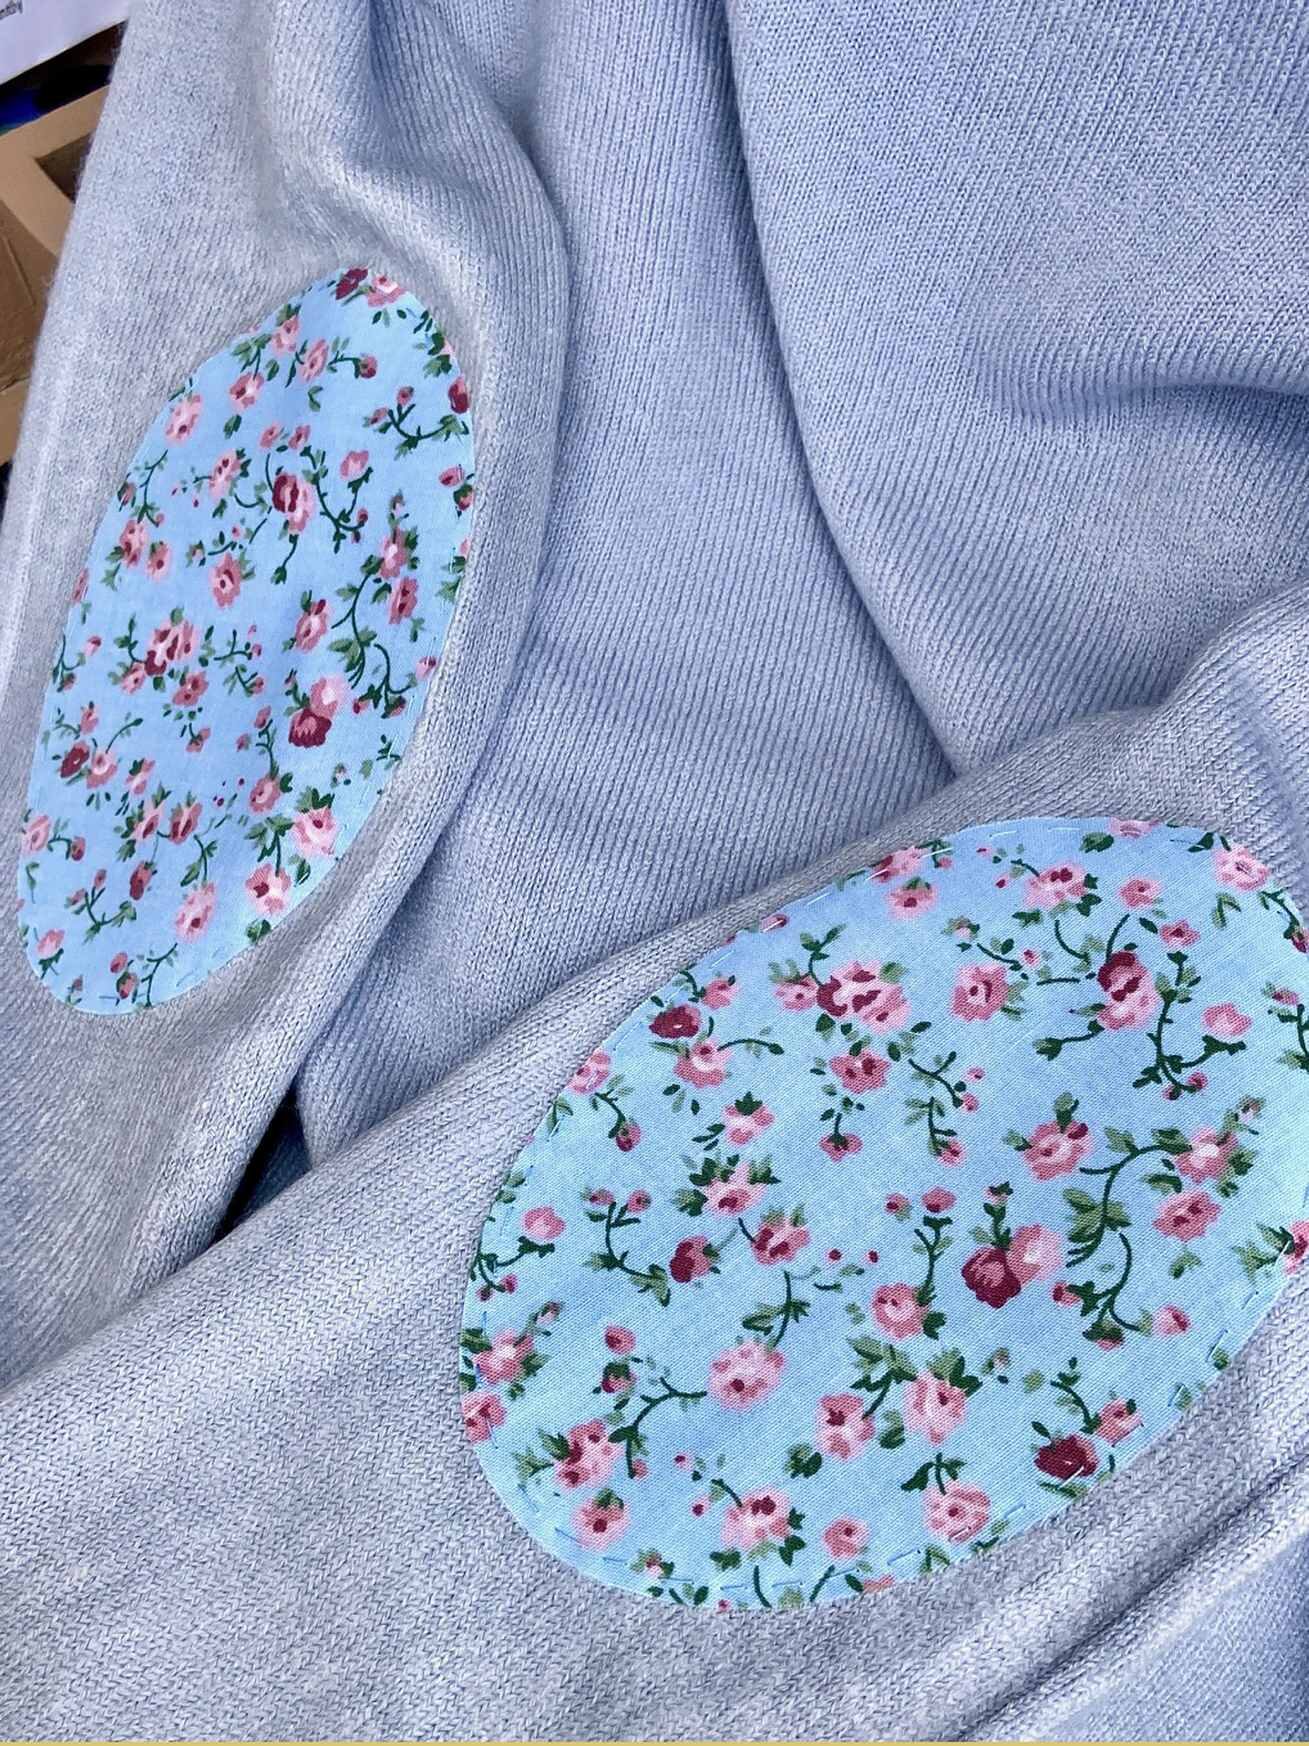
We recommend finishing off your patches with some stitching around the edges – either by hand or machine. It will make the world of difference to how your patches look and last. These pictures show a machined straight stitch and zig zag stich, but a hand applied running stitch works equally well
Cotton Patches: Applied in the same way as denim patches, though they may require less ironing time, our cotton patches are thinner so slightly less hard wearing, but are brilliant for customising and there are loads to choose from to get a totally unique look!
JEANS REPAIR Undercover Patches: Our Reverse Repair Patches have been designed for when you want to repair a hole in fabric from underneath. To find out more, see our Jeans Repair Undercover Patches Instructions
20% OFF your next order and a free patching handbook!
Subscribe to emails from Vintage-Patch and download my new pictorial patching guide ‘Step by Step to Success with Iron on Patches’ completely FREE! What’s more, the ebook contains a 20% off voucher code for your next order, whether it be for patching supplies or vintage and preloved clothing.
You’ll also be the first to hear about eco friendly repair tips and pop up shop dates from my Oxfordshire studio