


Clothing Repair and Decor with Iron on Patches Workshops in Banbury
A fun and creative workshop where you’ll learn how to repair and decorate your Jeans, Jackets and more using iron-on patches After hearing quite a


A fun and creative workshop where you’ll learn how to repair and decorate your Jeans, Jackets and more using iron-on patches After hearing quite a
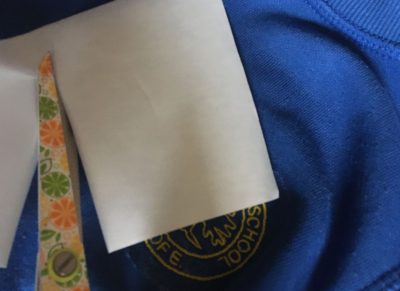
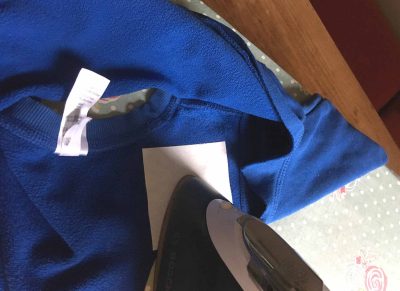
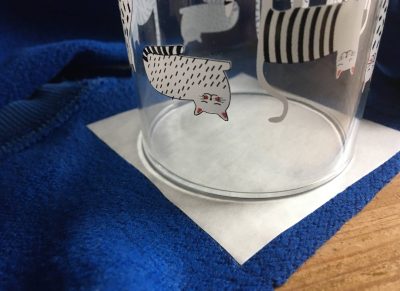
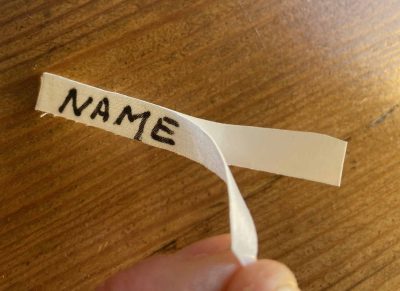
Quick and effective ways to keep school clothing in tip top condition throughout the academic year You’ve spent a fortune on new uniforms and the
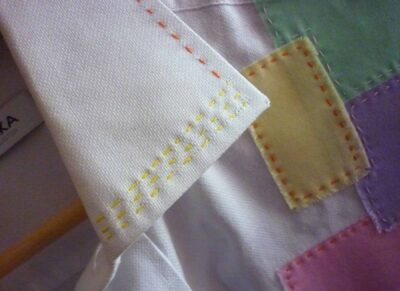
Step by step instructions on how update an old shirt with iron on patches in Spring pastel shades for the perfect Mother’s Day gift. Simple

Step by step instructions on how to make an orange pumpkin face motif from an iron on patch to decorate a top for Halloween.
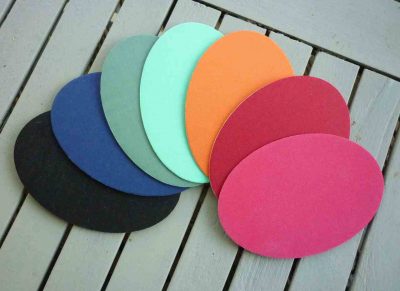
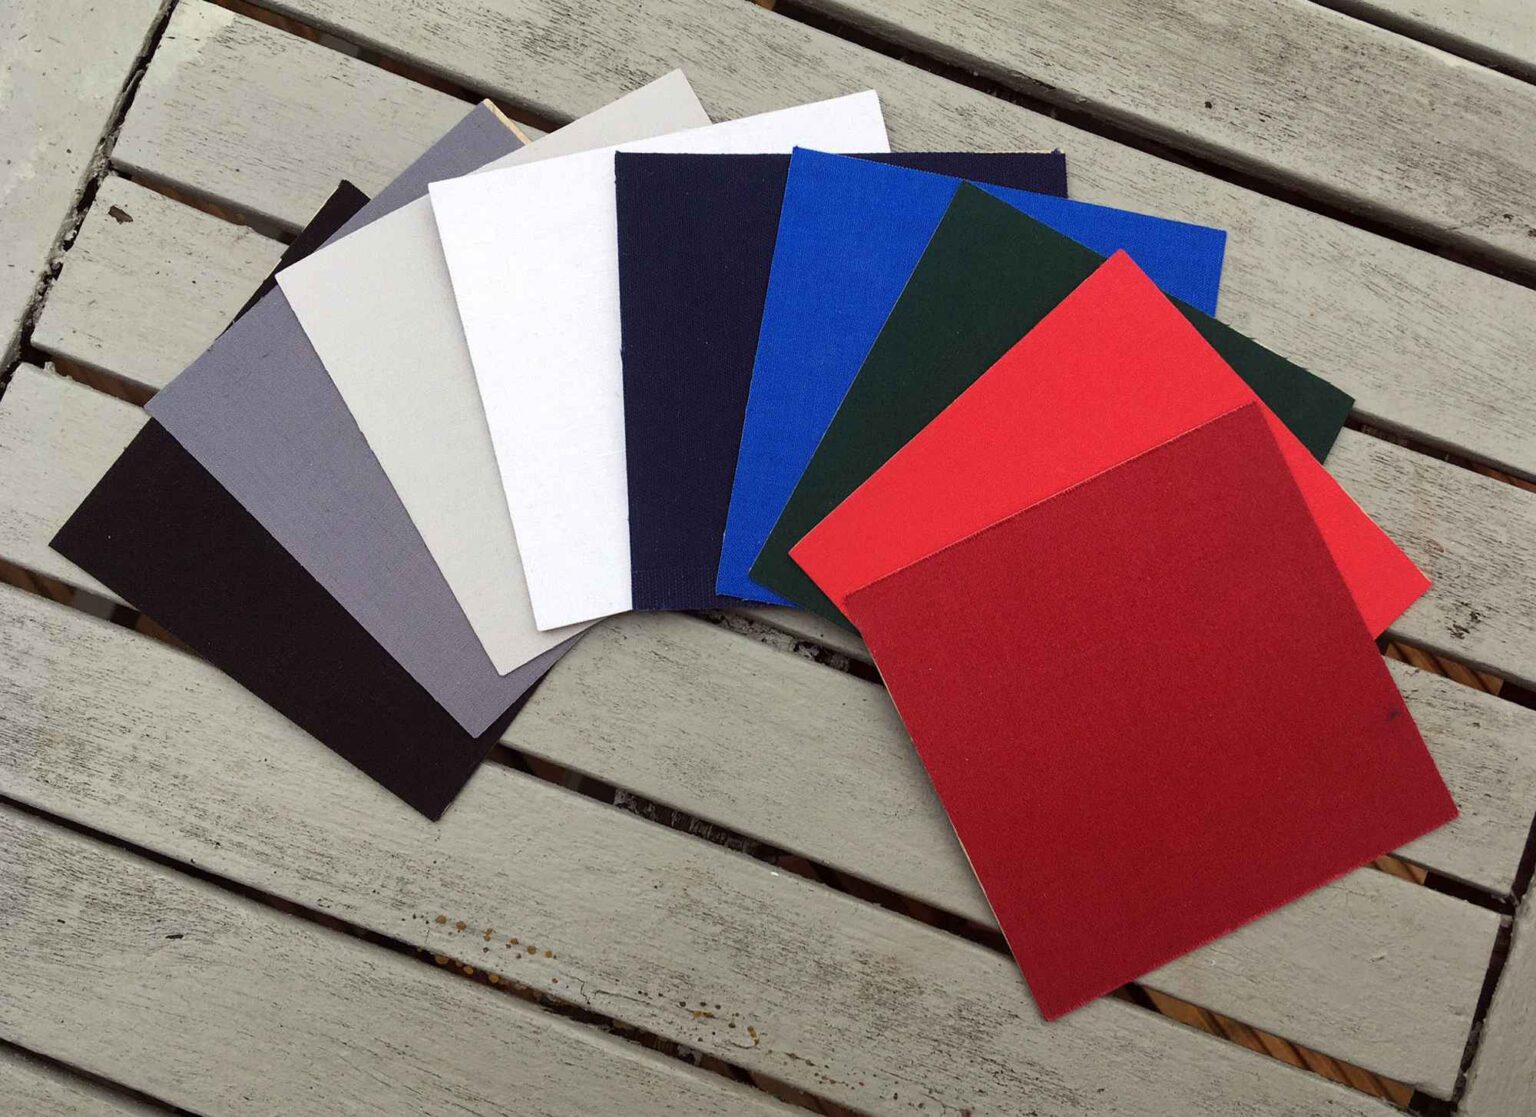
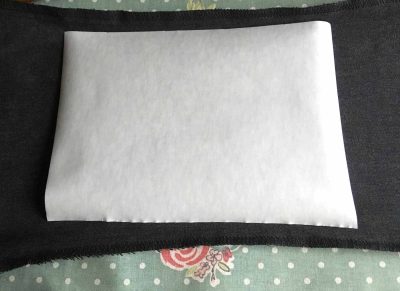
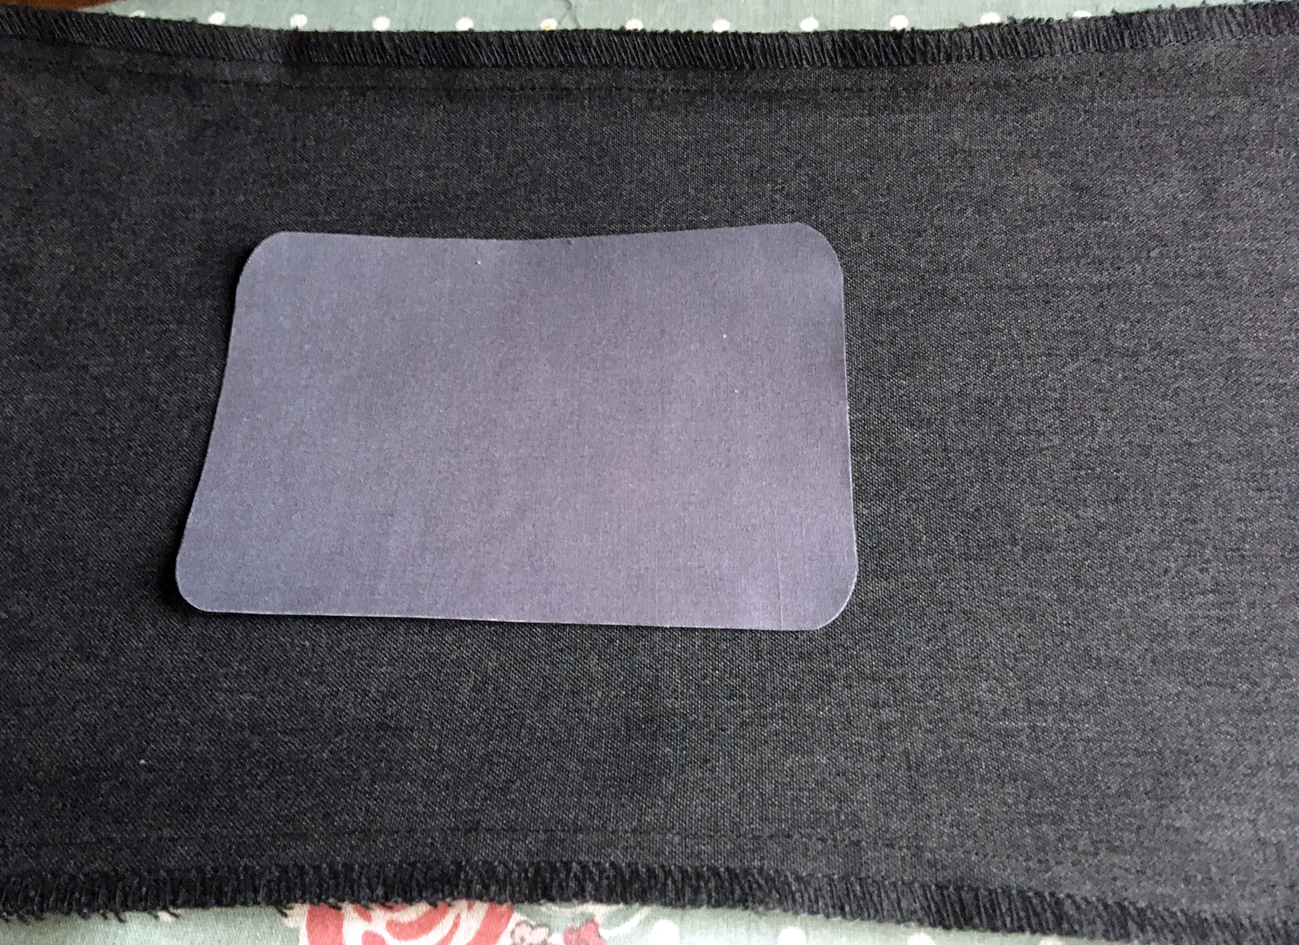
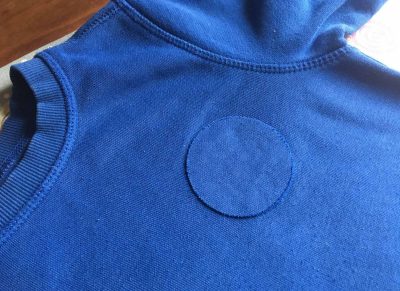
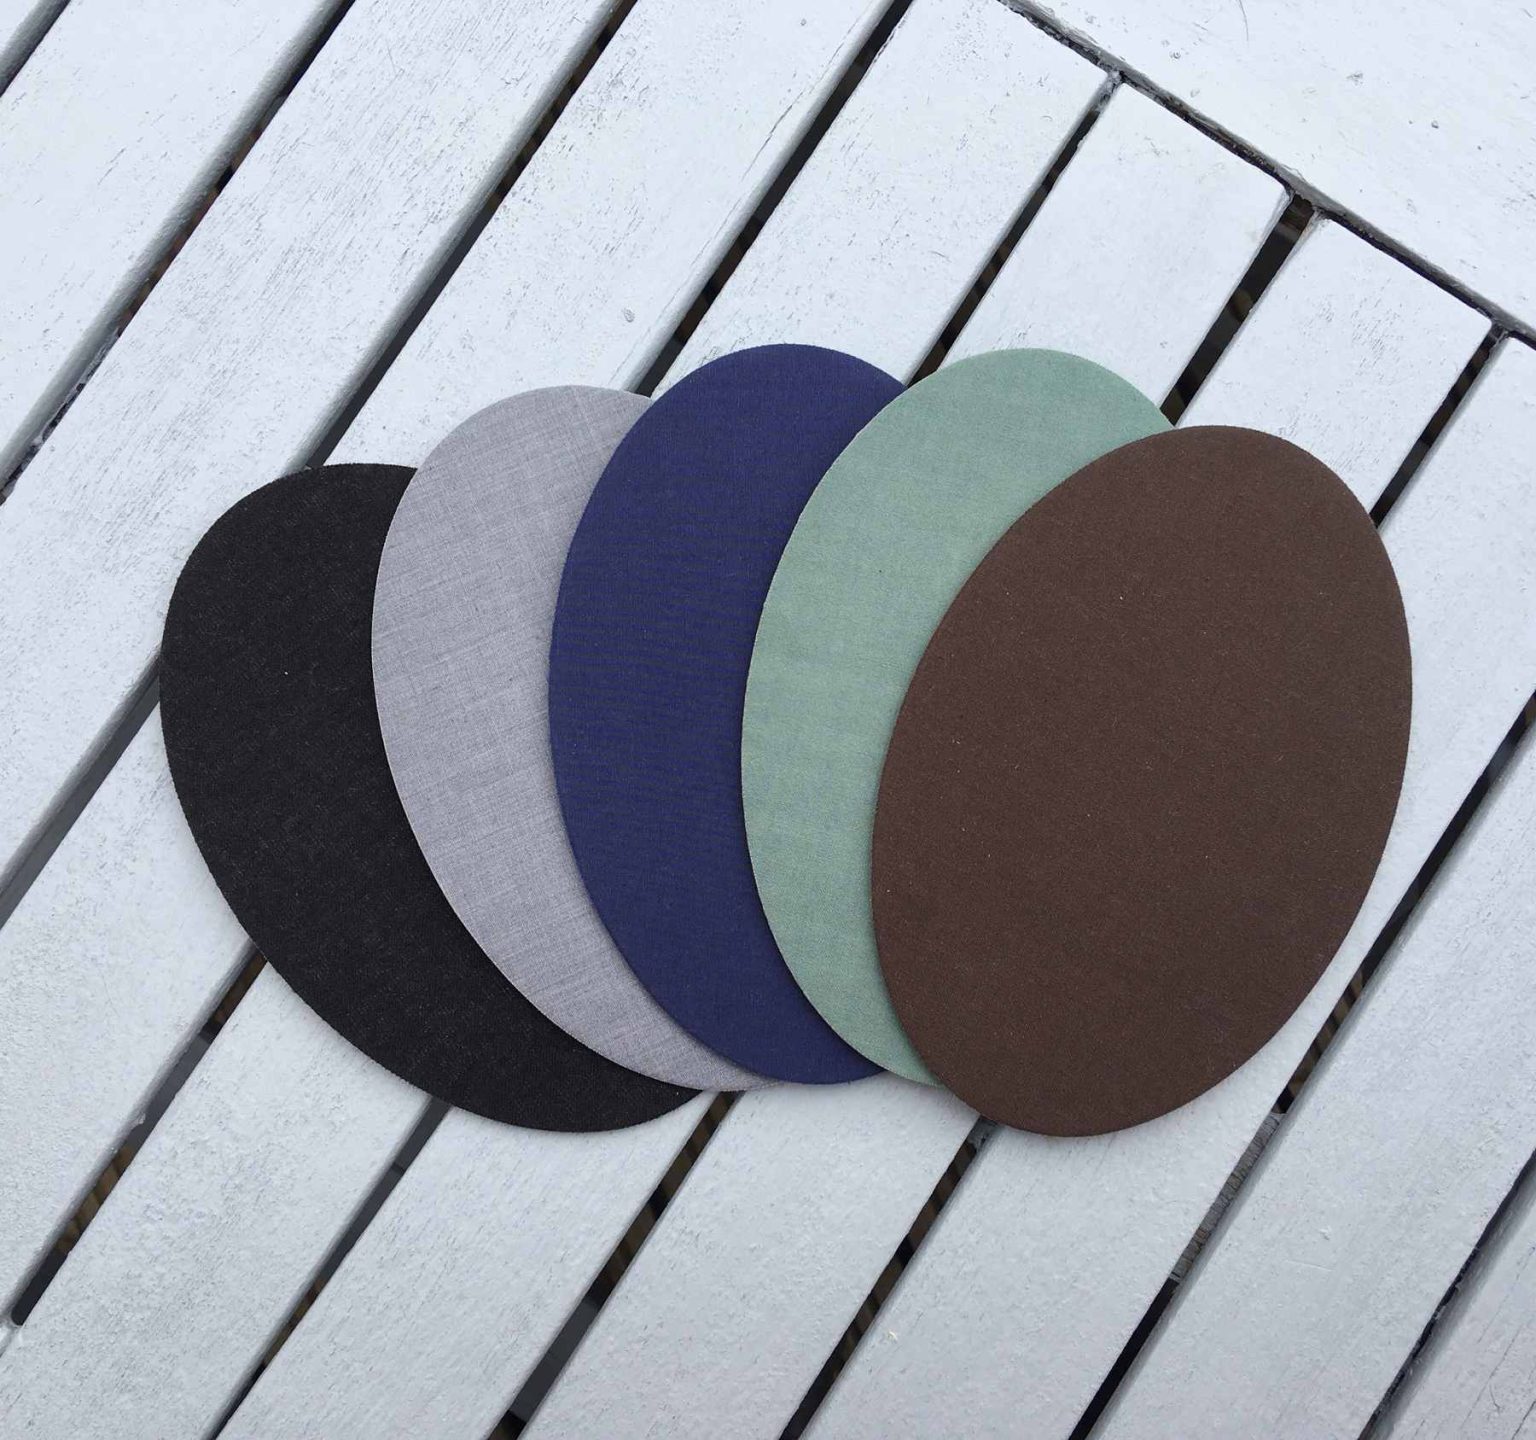
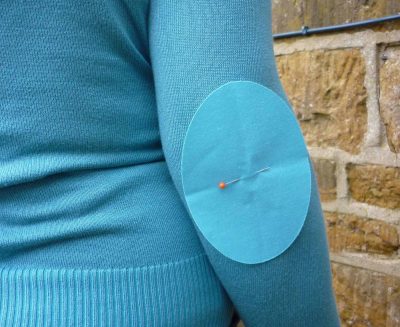
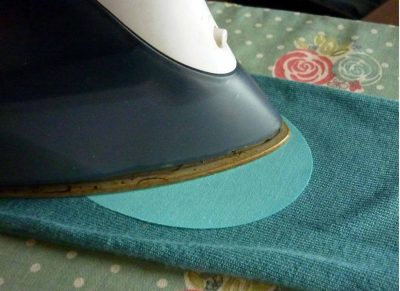
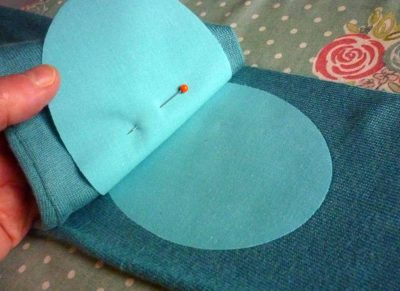
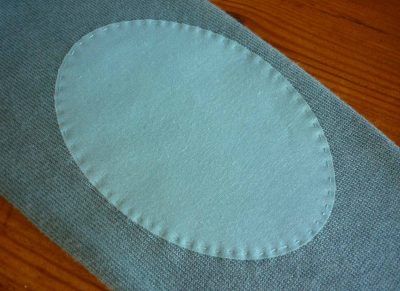
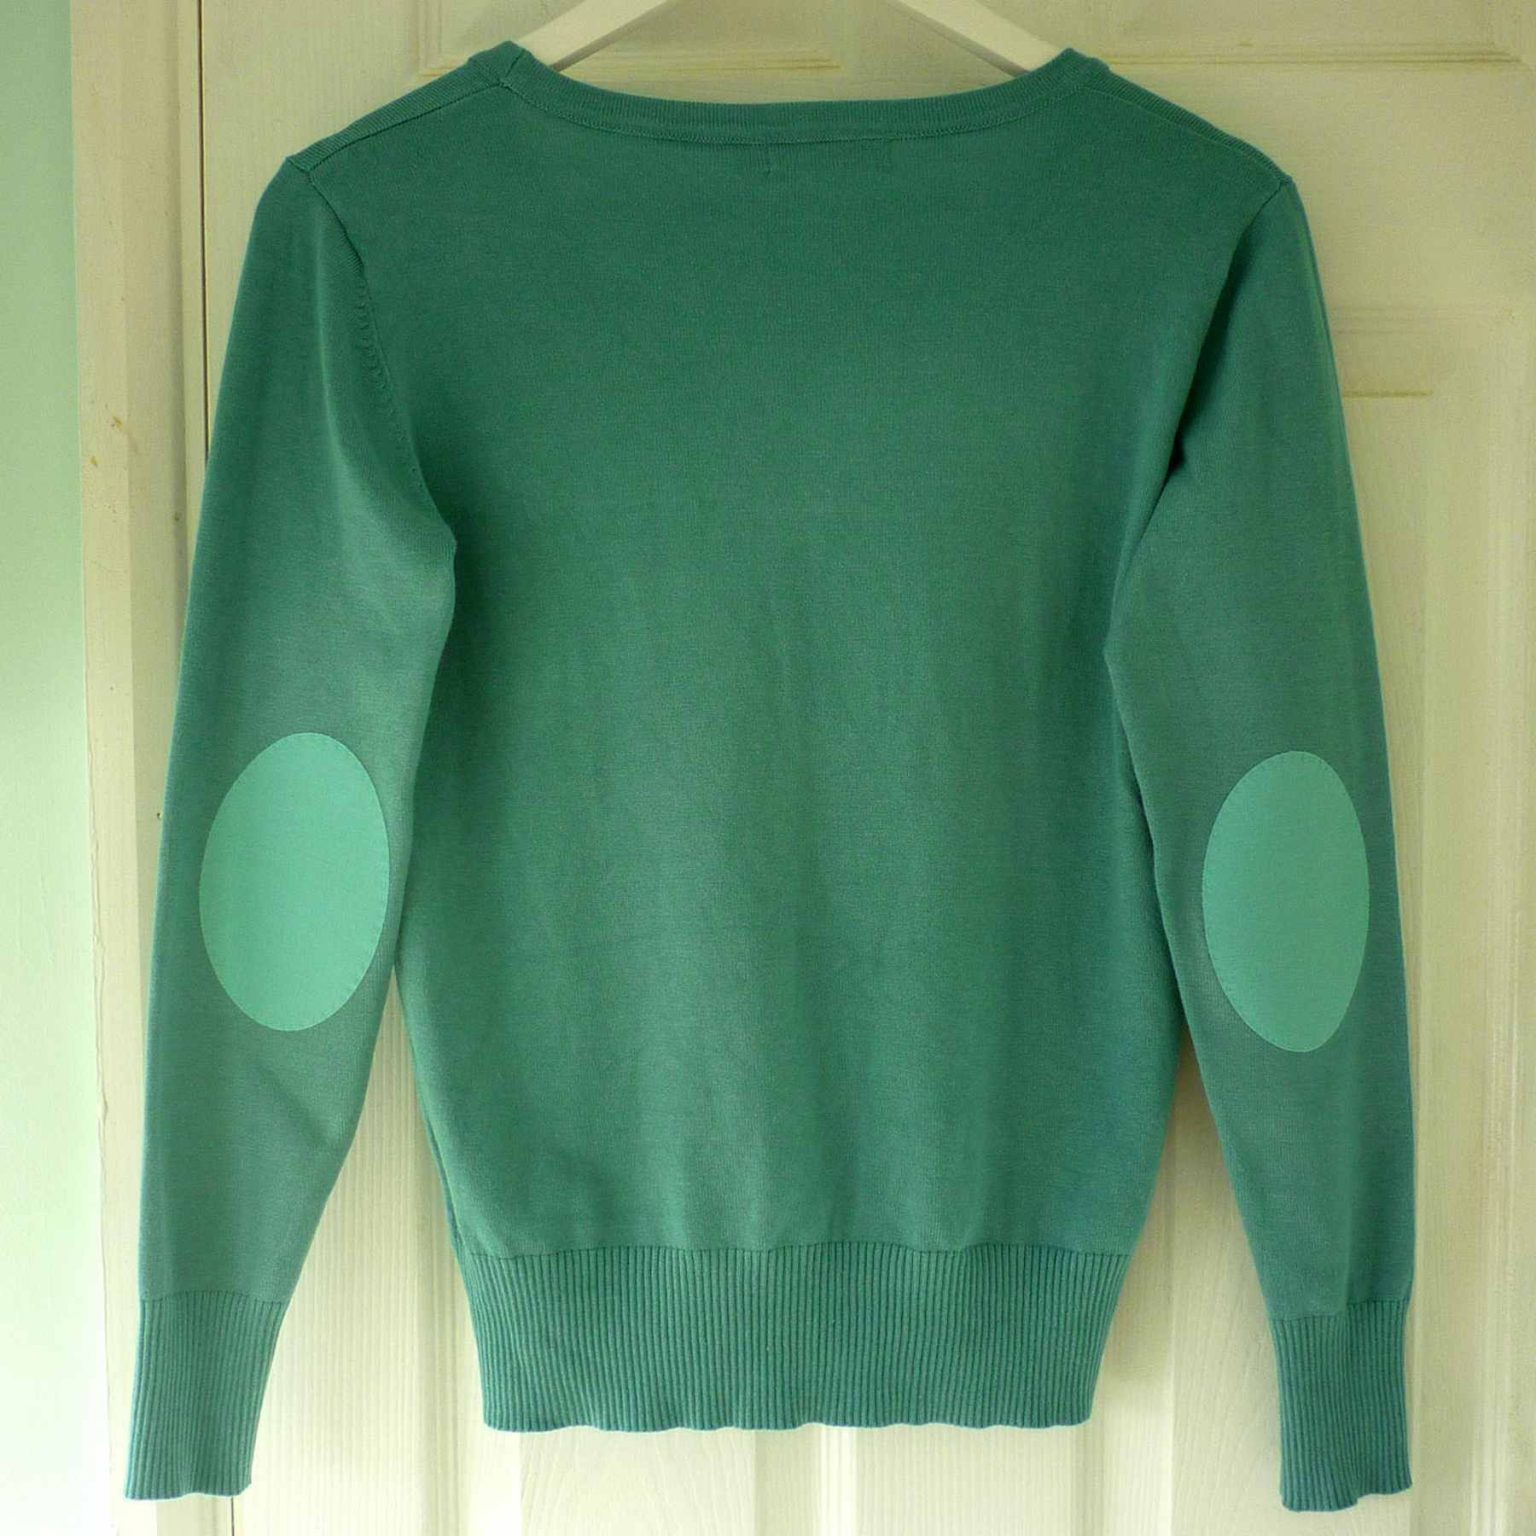
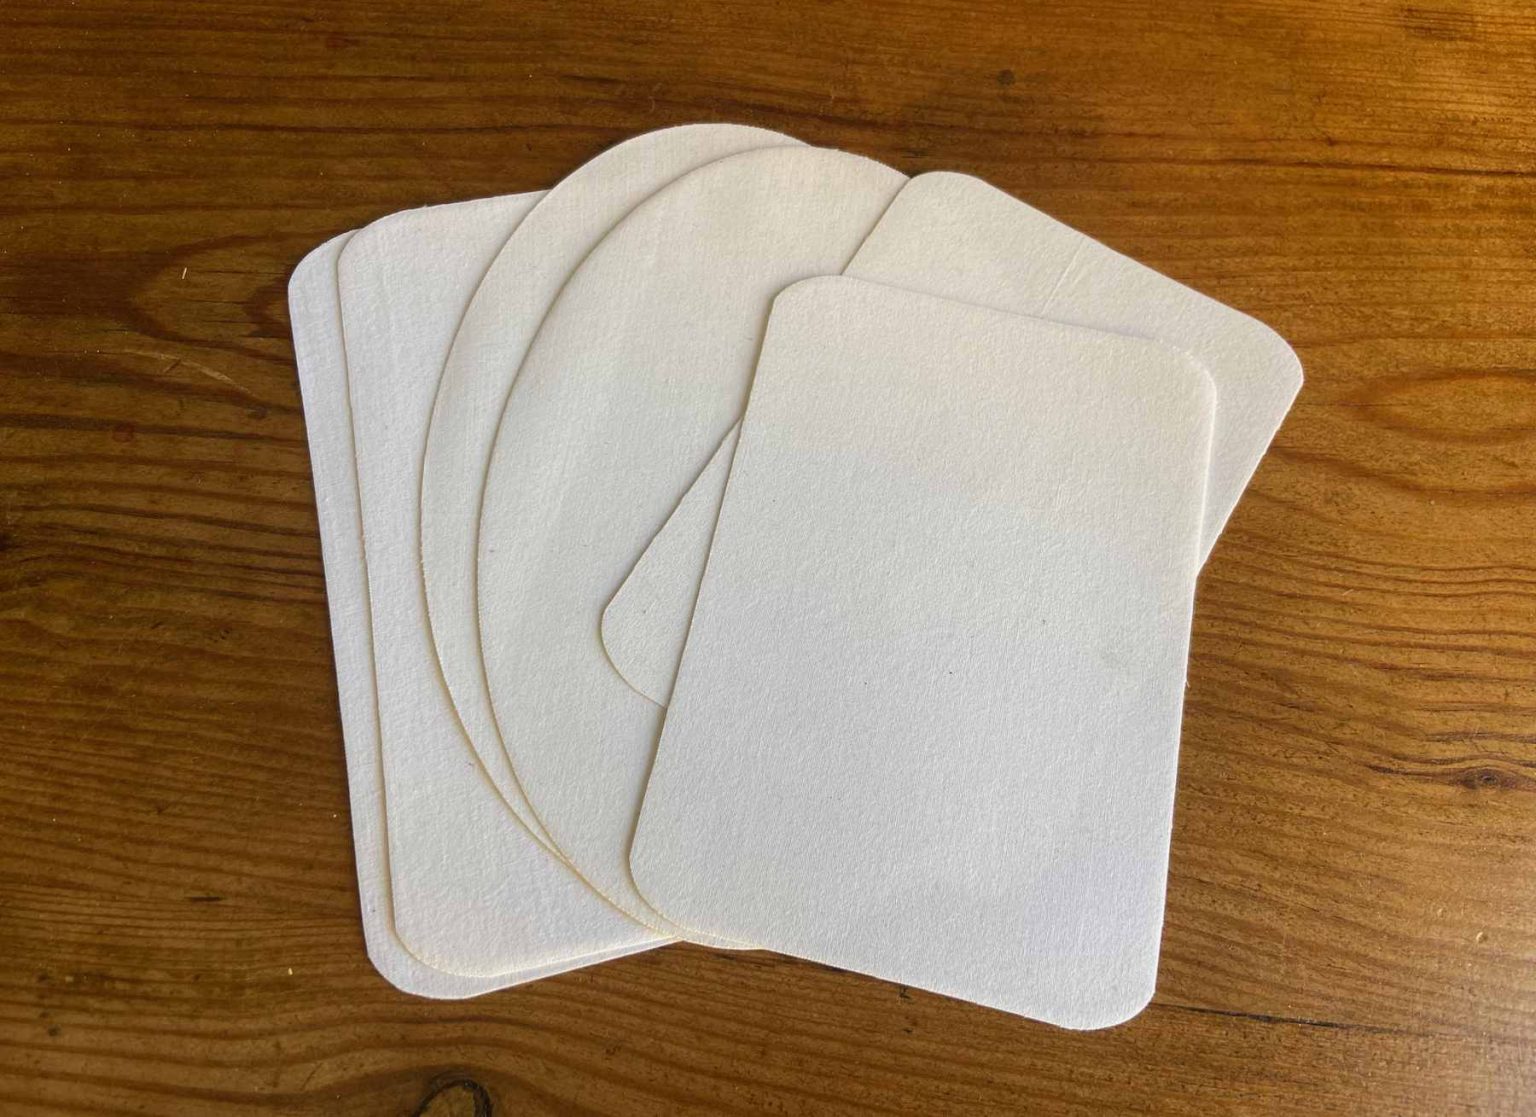
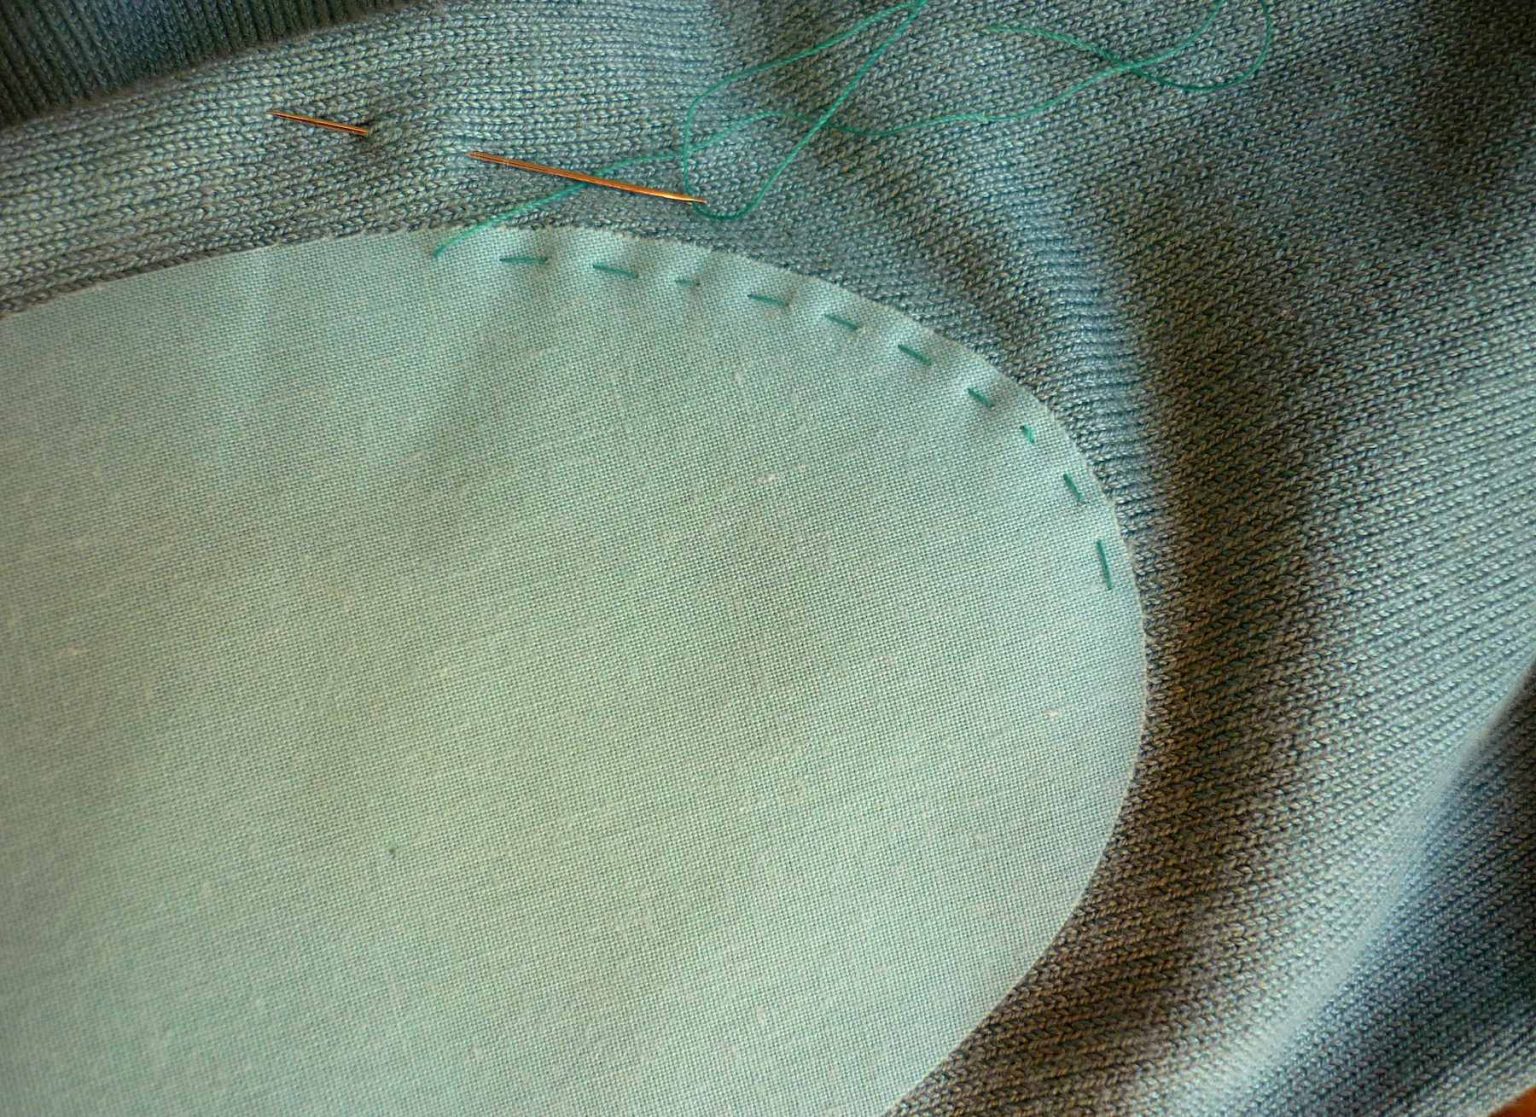
Choosing the best colour for iron on elbow or knee patches to add to a piece of clothing can be as simple or as complicated
10th – 17th July 2021 (weather permitting) After so many months of putting all planned events on hold due to the pandemic, I’m very excited