Create a pastel patched shacket in an afternoon with our quick and easy DIY upcycle
Step by step instructions on how update an old shirt with iron on patches in Spring pastel shades for the perfect Mother’s Day gift. Simple
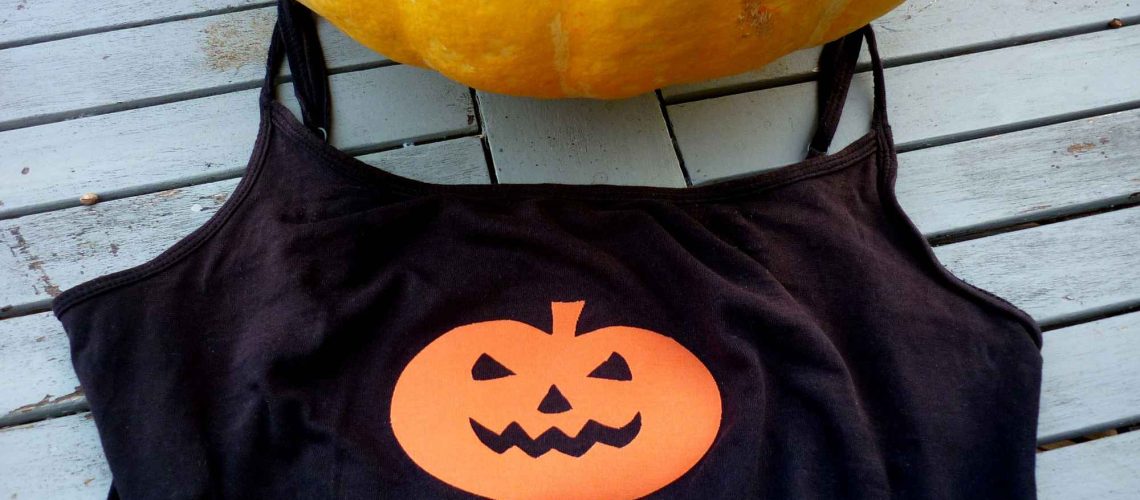

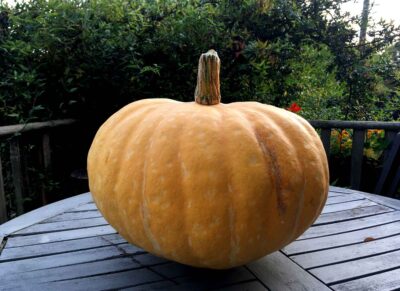
It’s an amazing 20 degrees in October today. It may be Autumn, but it’s still warm enough to sit in my North Oxfordshire garden admiring a fabulous just harvested Jack O’Lantern style pumpkin from the veggie plot.
Honestly, I’m really proud of growing this one, so had to share it with you. After all, who doesn’t love pumpkins?
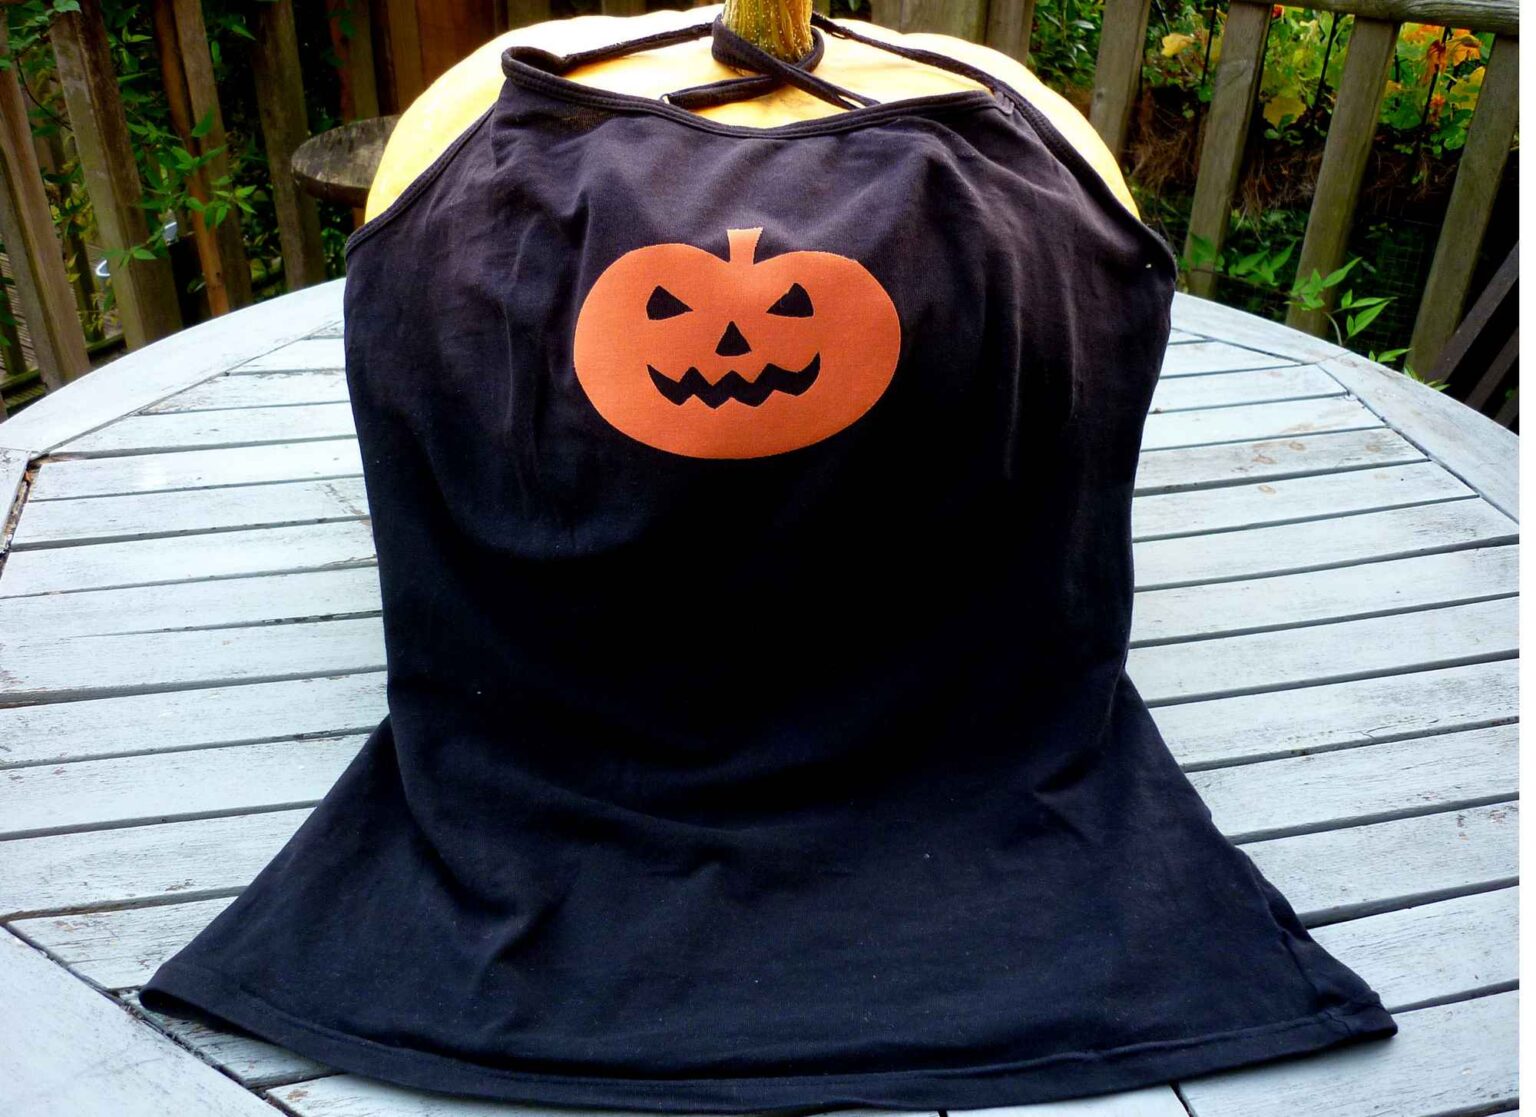
I’m also loving the fact that with a bit of imagination, a simple oval iron on cotton patch normally used for elbow or knee repairs can be hacked to produce a spookily decorative motif for very little outlay. With Halloween coming up, I had been idly mulling over how a pumpkin theme t shirt might be created when a trailer for The Witch Farm happened to play on the radio. Clearly the time was right; I downloaded the first episode and listened whilst carrying out my spooky upcycle.
If you want to pay homage to Halloween without committing yet more fast fashion to landfill after a single wear, updating an existing top to fit the theme definitely makes environmental and financial sense. Working with cotton iron on patches is a very quick and simple decorative option.
As the base for my creation, I wanted a plain black top so the background would make the eyes, mouth and nose of the pumpkin face stand out. A T-shirt or sweat shirt would have been ideal, but in the absence of one, I found an old black strappy camisole vest in stretch cotton jersey fabric.
To be honest, the vest was pretty worn out; certainly not good enough condition for my Vintage-Patch clothing shop, but as we’re only talking a couple of days around Halloween each year, it won’t get lots of wear, so was perfect for a quick, easy and fun project which can be worn layered with other clothing in colder weather.
Whatever base garment you choose, make sure it can tolerate a hot iron temperature for the iron on process necessary to attach the patch securely.
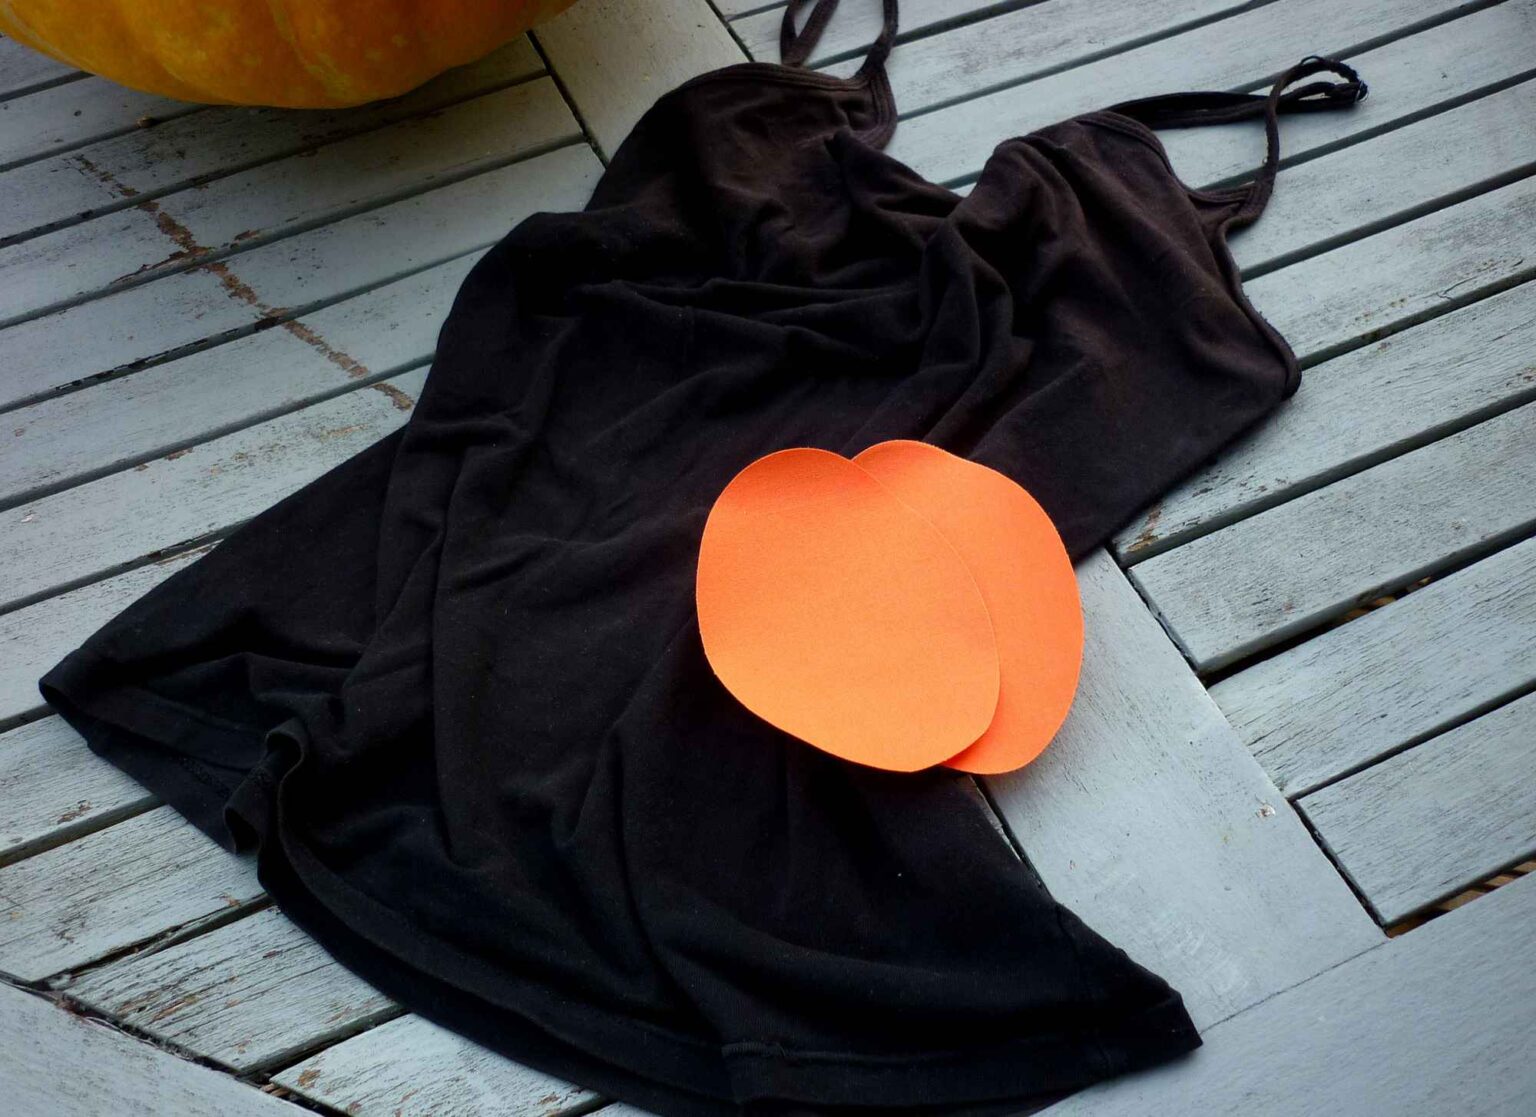
The pumpkin motif is made from just one orange oval iron on elbow or knee patch. I’ve used the Orange Plain Cotton Iron on Elbow / Knee patch in child size (13x9cm) from our very own Vintage-Patch range. This two-pack leaves one spare patch in the pack to decorate a matching bag if you feel so inclined.
Of course, any patch will do, or even some orange cotton fabric and a bonding sheet if you have such craft supplies to hand, so grab yours and let’s get into the tutorial.
Black cotton top, we chose a strappy vest but anything goes!
Pencil
Scissors – small sharp point ones such as nail scissors are good
Iron and ironing board or pad
Needle and thread or embroidery floss
Optional: chalk or pins, flourescent or glow in the dark beads (I’m told natural / sustainable beads are available)
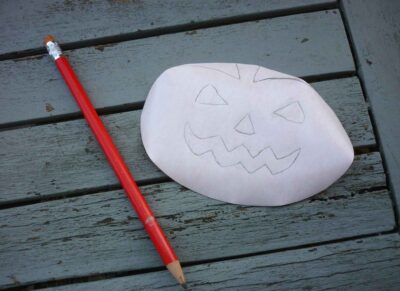
On the adhesive backing paper of the oval iron on patch, sketch out your pumpkin shape and face in pencil. Keep the design fairly simple to avoid having to cut out intricate shapes.
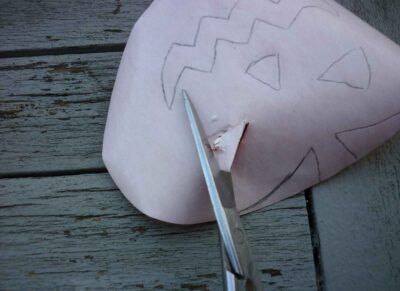
Using a sharp ended pair of scissors (nail scissors are ideal) cut out the eyes, nose, mouth and contours of your pumpkin face. I found making a small nick with the scissors in the middle of each aperture and then cutting the shape out from there worked best.
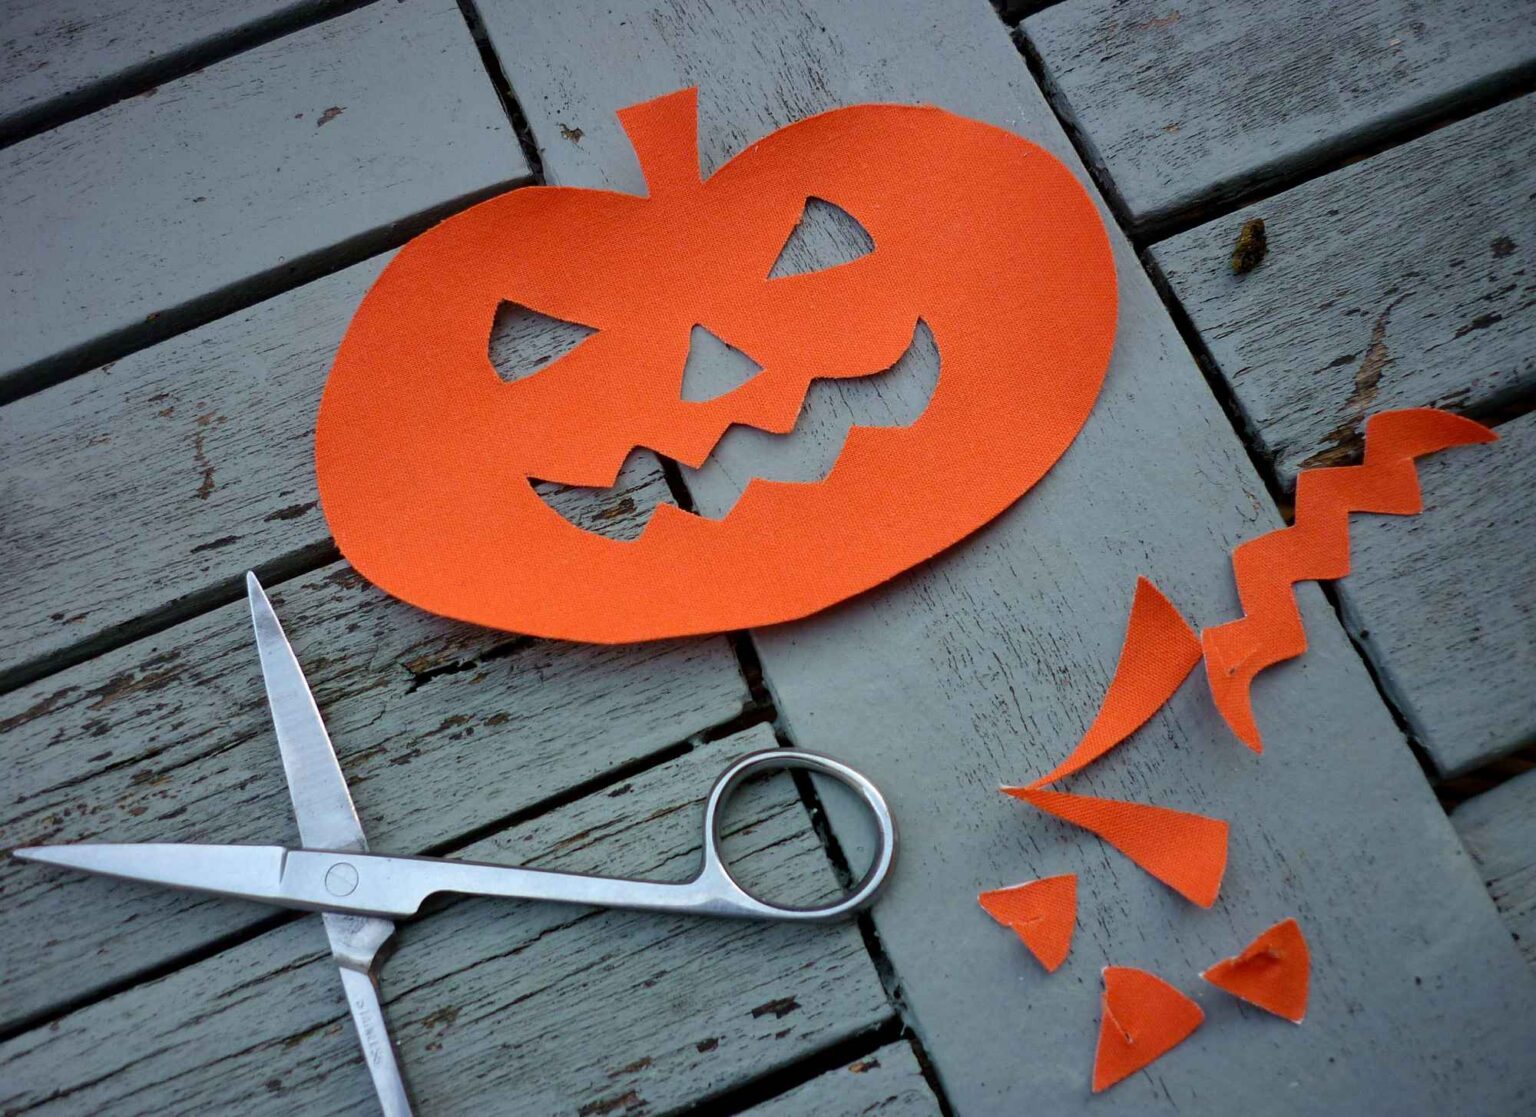
Set your iron to the correct temperature for Vintage-Patch iron on patches and your garment by using the test sample as detailed fully in the pack instructions.
I usually do this by folding it exactly in half, right side out, matching the side seams and top and bottom hems together. You should then be able to iron a crease along the front to mark the centre line. You can also mark the centre front more clearly with chalk if you wish. At the same time, decide also how far down the garment from the neckline you want your motif positioned and mark this with a pin or chalk
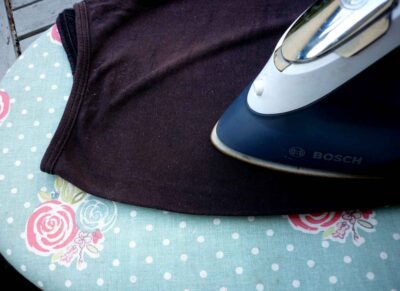
Lightly fold the motif it in half to mark a crease down its centre (but don’t iron it yet!) Peel off the adhesive backing paper so that the shiny glue coating can be seen, and lay the motif flat away from any heat.
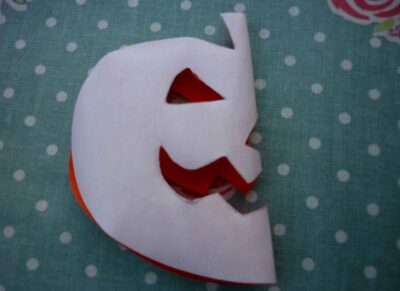
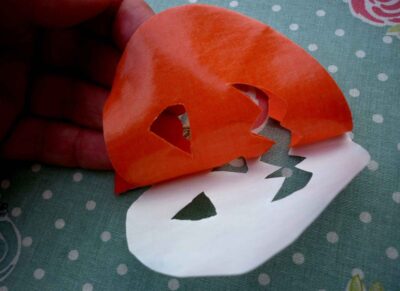
Place the garment front flat on the ironing board facing up, making sure you can see the centre front crease or chalk clearly
Now match the centre of your motif with the centre front of the garment, glue side down. Check that the motif is as far down from the neckline as you want and reposition if necessary.
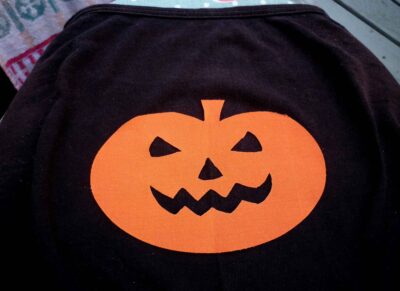
Make sure any pins are removed and smooth the motif gently into its final position with your hands so there are no folds or puckers. Then iron carefully over the pumpkin face motif using a lift and press action for 20 – 60 seconds from both sides of the garment to ensure the thermal adhesive on the patch is well bonded, especially around the edges.

Allow the garment to cool for 20 minutes.
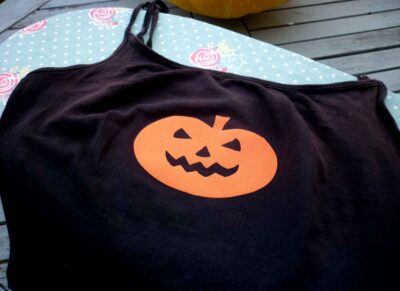
Although the adhesive we use at Vintage-Patch is strong enough to stay in place permanently on many tight weave fabrics such as cotton, cotton blends and denim without additional sewing, we always recommend a simple line of running stitch around the edge in matching or contrast thread for a hardwearing and durable result that will last through many washes and wears. This is especially true when using stretch fabrics such as cotton jersey t shirting and with garments that will be tumble dried.
So, go ahead and decorate your pumpkin face with some stitching around the edge – you can even sew on some glow in the dark beads for an extra ghostly aura.
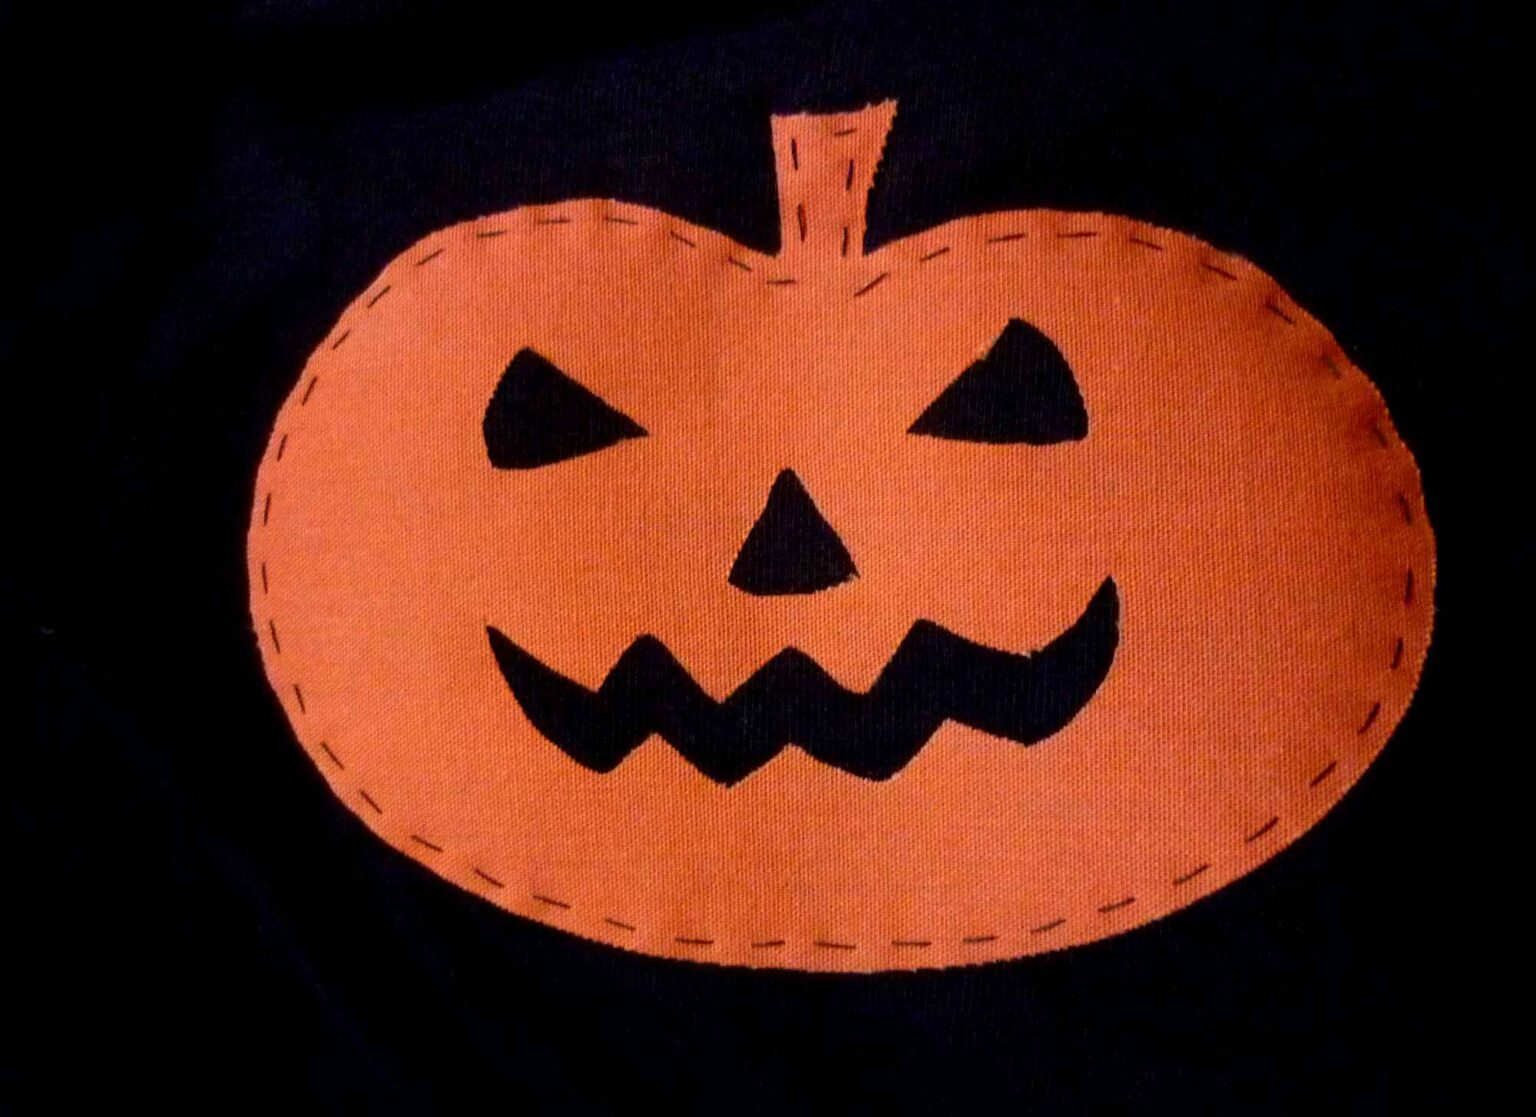
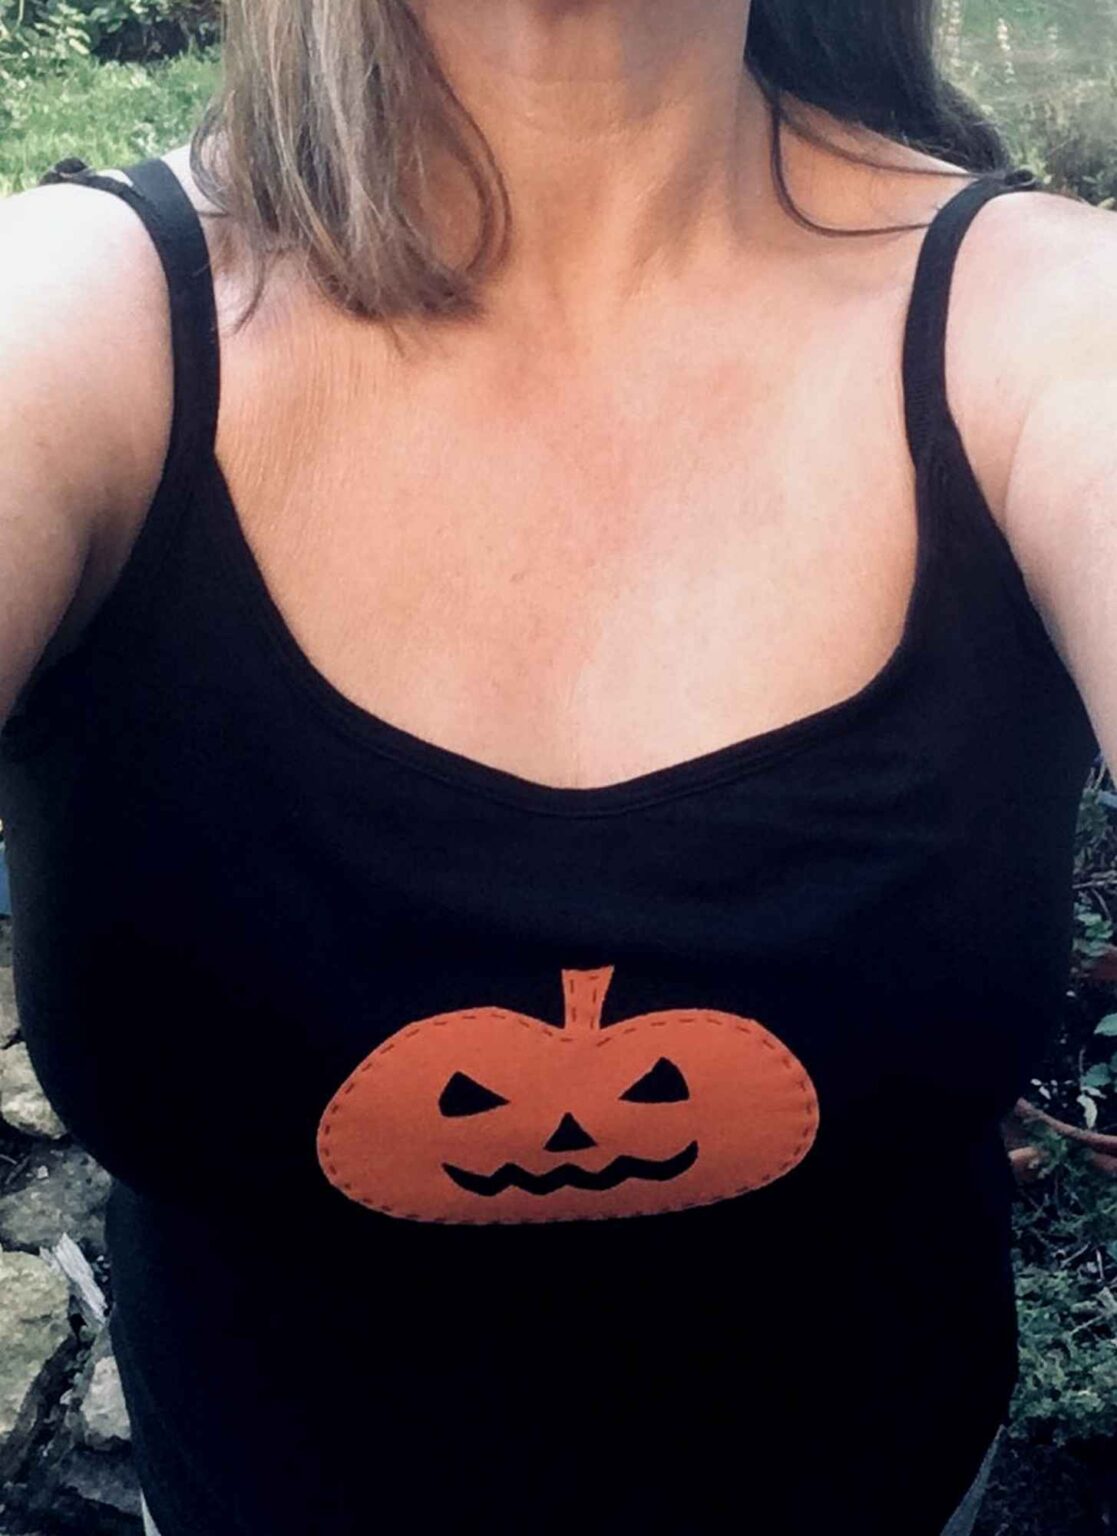
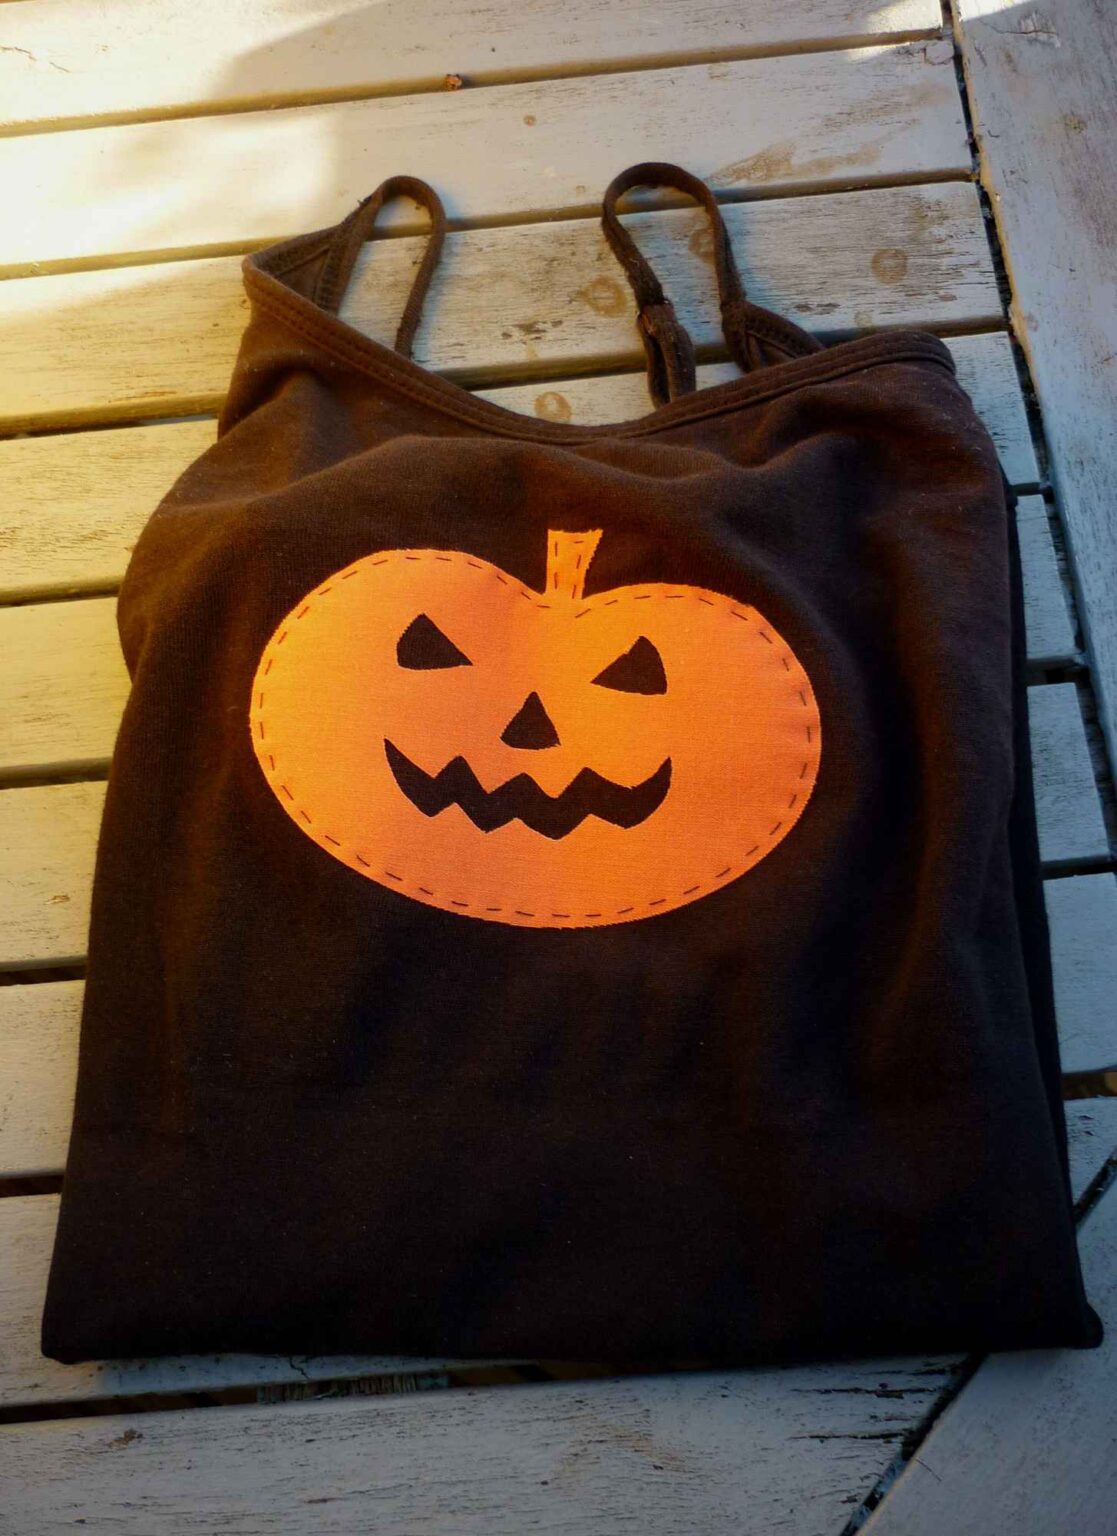
Realising how versatile a humble iron or sew on patch can be has fired my enthusiasm to identify even more fun and unusual applications for the Vintage-Patch range.
How about fashioning an Easter egg from a pastel shade patch, or a yellow patch decorated with stripes to make a bumble bee. I will put my thinking cap on so watch this space, or better still, let me know what you would create?
Get a heads up when our next post is published by signing up to our email list for clothing repair tips, upcycled fashion ideas and exclusive promotions.

Step by step instructions on how update an old shirt with iron on patches in Spring pastel shades for the perfect Mother’s Day gift. Simple

Step by step instructions on how to make an orange pumpkin face motif from an iron on patch to decorate a top for Halloween.
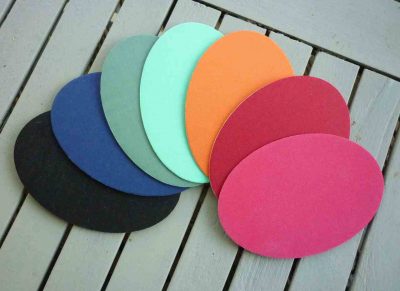
Choosing the best colour for iron on elbow or knee patches to add to a piece of clothing can be as simple or as complicated

10th – 17th July 2021 (weather permitting) After so many months of putting all planned events on hold due to the pandemic, I’m very excited
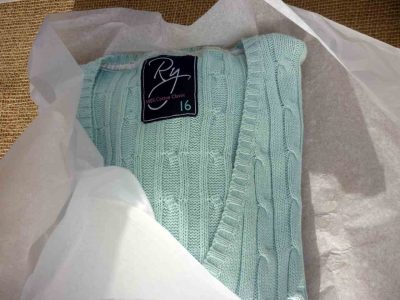
As well as my range of iron-on fabric patches, I also offer a growing range of great quality pre-owned and vintage clothing and I thought

Ooops, that’s torn it! My jeans always rip here first…. and judging by your comments on our facebook page @vintagepatchstyle, I’m not alone! Jeans fabric
VINTAGE-PATCH
Oxfordshire, United Kingdom
E: [email protected]
Upcycled, vintage and secondhand style for your sustainable wardrobe.