
Clothing Repair and Decor with Iron on Patches Workshops in Banbury
A fun and creative workshop where you’ll learn how to repair and decorate your Jeans, Jackets and more using iron-on patches After hearing quite a


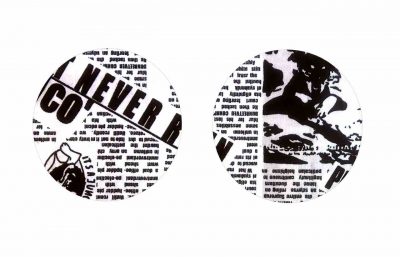
The world is full of gingham shirts so I wanted to make this one look just a little different. I pulled out a few patch designs from my collection including contrast blue and black gingham and white skull and crossbones on a black background (pictured) both ideal for boys’ garments. After much deliberation, I decided some black and white newsprint patches were just the thing to add a quirky touch of humour. The circular shape in child size 8.5cm diameter is a good fit and makes a change from oval or rectangular.
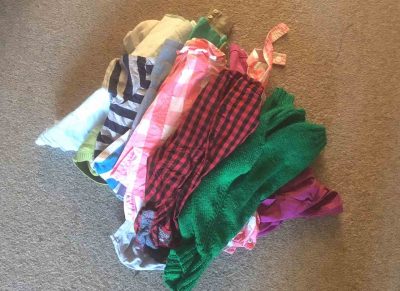
The Challenge is to celebrate the launch of Vintage-Patch’s new range of mini patches for smaller size childrens’ clothes, and I’m seeing how many charity shop cast offs can be refashioned into something cool before 14th February.
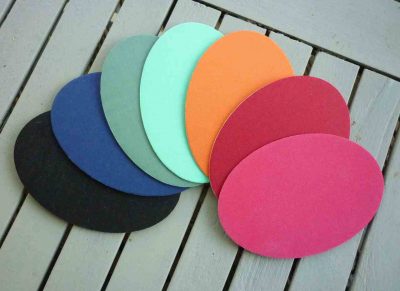
The new ‘Mini’ range is available in heart, circle, square and oval shapes. They join adult and child size patches in most of our usual fabrics. Simply choose the patch fabric design you like (shown in our shop as oval by default) and then select your preferred size and shape from the options button. TIP – Check which measurements will be suitable for your garment. These are listed in the ‘additional information’ section.

I love gingham, so I knew I wanted to do something with this little shirt as soon as I saw it looking forlorn in the pile of cast offs. It’s in great condition, and my final choice of newsprint circular elbow patches give it a fun twist. Reminds me of the saying ‘black, white and read all over!’
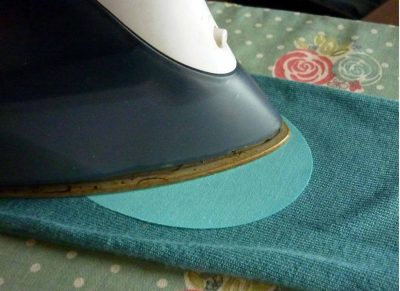
My equipment for this refashion was minimal – an iron, tape measure or ruler, and pins or chalk to mark position plus needle and thread and scissors. Plus of course, my choice from the following patches:


Once I’d measured where the patches should go, I removed the patch backing and ironed them into position with a hot dry iron. I also had a snippet of fabric left that I added as an accent on the chest pocket. Full instructions are in each pack or check out our INSTRUCTIONS.
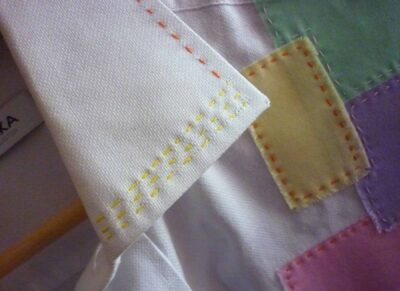
I could have left the patches unsewn but I prefer to finish them off with a line of running stitch around the edge. I find this simple and quick to do and like the hard wearing and attractive finish.

Ta Da! Here it is… as always I welcome your feedback.

Why not have a go yourself? Better still, email me a photo of your creation so I can feature it on the website.
A fun and creative workshop where you’ll learn how to repair and decorate your Jeans, Jackets and more using iron-on patches After hearing quite a
Quick and effective ways to keep school clothing in tip top condition throughout the academic year You’ve spent a fortune on new uniforms and the
Step by step instructions on how update an old shirt with iron on patches in Spring pastel shades for the perfect Mother’s Day gift. Simple

Step by step instructions on how to make an orange pumpkin face motif from an iron on patch to decorate a top for Halloween.
Choosing the best colour for iron on elbow or knee patches to add to a piece of clothing can be as simple or as complicated

10th – 17th July 2021 (weather permitting) After so many months of putting all planned events on hold due to the pandemic, I’m very excited