Aqua Sweater to Cardigan Refashion

This sweater has been on my refashion ‘to do’ list for a while now. I used to wear it regularly but after a comment from OH that it was a bit ‘mumsy’, I decided it could do with a redesign.
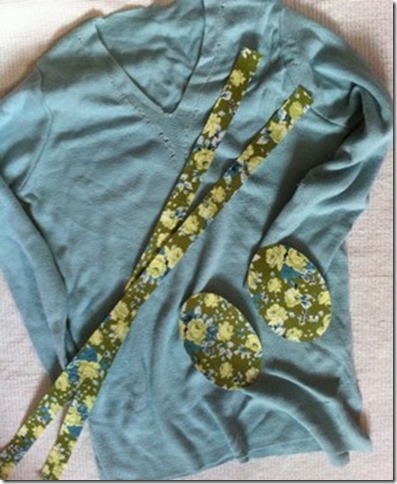
The colour is versatile enough for summer and I picked out a set of Vintage-Patch iron on oval elbow patches and matching trim strips in our new Green Tea Rose design.
This refashion is a little more complicated than I’ve previously demonstrated on this blog, and I was really pleased that the Fabric Trim Strips worked so easily, and they've now been added to our range. To buy the trim strips, just click on the patch design you like, and the trims can be chosen from the dropdown options list there if available in that design.
Here’s how the refashion worked:
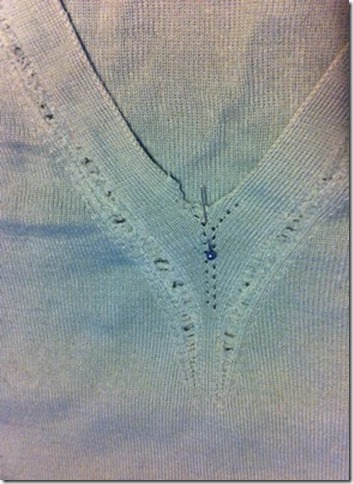
Mark the midline of the sweater at the bottom
…and the top
Position trim strip carefully down the centre front of the sweater, allowing a little overlap at the v neck
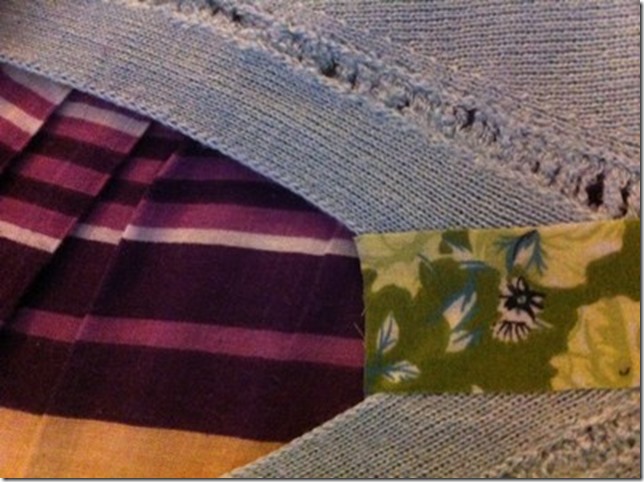
A close up of the overlap. You’ll trim this later.
Peel backing off the trim strip. You can leave a little bit of the backing on at the top overlap area to avoid this sticking where it shouldn’t.
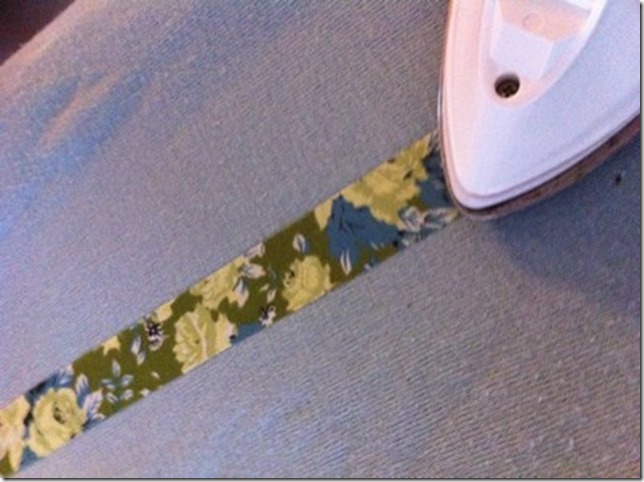
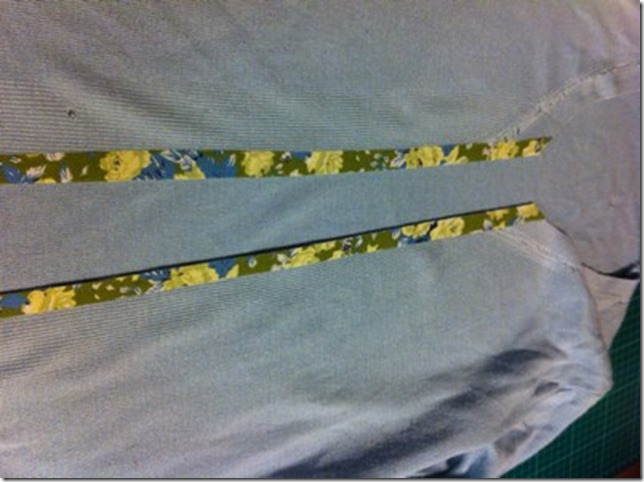
Iron the trim strip down the centre of the sweater, with a medium hot iron, pressing for 20 – 60 seconds to get a good fix. You may need a press cloth to protect the wool, in which case you should press for longer and increase iron temp to compensate. (Full instructions for Vintage-Patch products are included in each pack).
I applied a second trim strip on the inside of the sweater, which probably isn’t necessary but gives a nice tidy finish. Bear in mind if you do this, the front opening may be a bit stiffer than the rest of the garment.
Trim the neckline overlap carefully and iron this area again to make sure there are no loose ends.
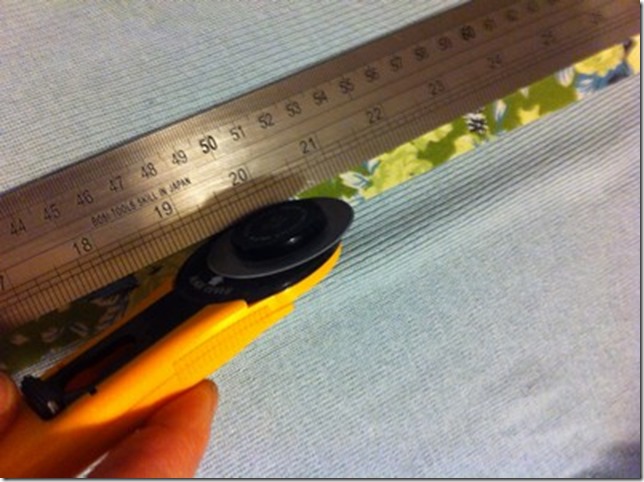
Find the centre of the trim strip and and either mark and cut with scissors, or use a rotary cutter and straight edge, but see note below!
Using the rotary cutter gives a lovely clean edge, but you MUST use a cutting mat inside the garment to ensure you don’t cut straight through the sweater!
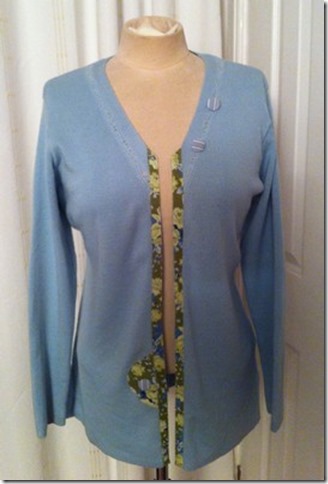
Voila – you now have a cardigan.
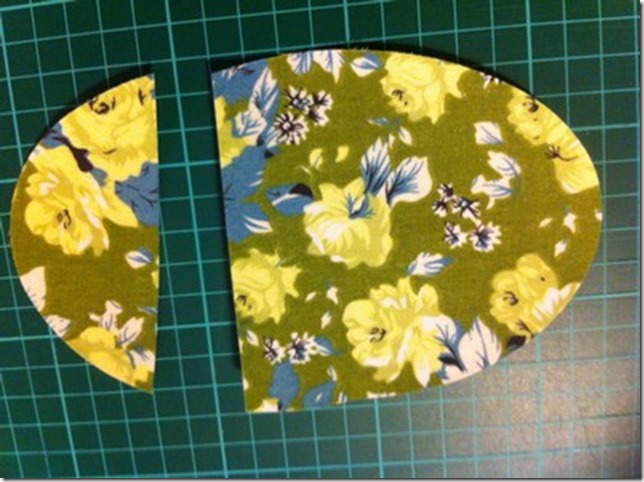
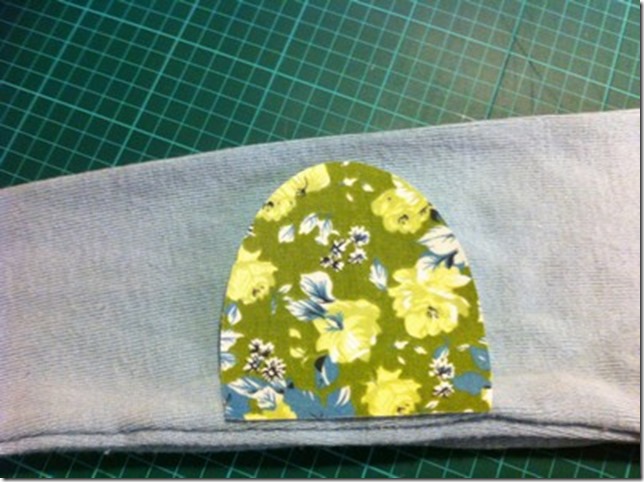
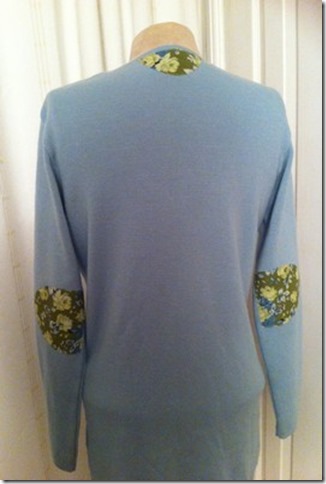
As I wanted a slightly smaller elbow patch on this cardigan, I simply cut about 1/3 off each oval patch and used it side on instead of lengthways. A circular patch would also have looked nice and is one of the shape options we offer in the dropdown list of each patch design page.
Try the cardigan on to establish where you need the patch, and mark with a pin. Then place the patch in position, with the straight edge alongside the line of the seam. Iron into postion.
A bit of detail:
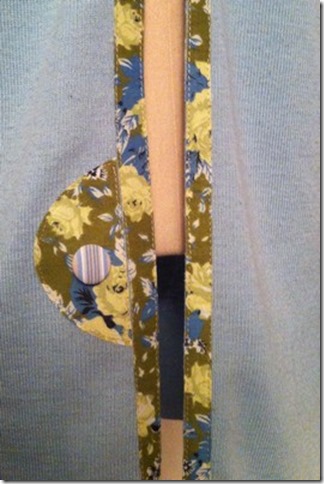
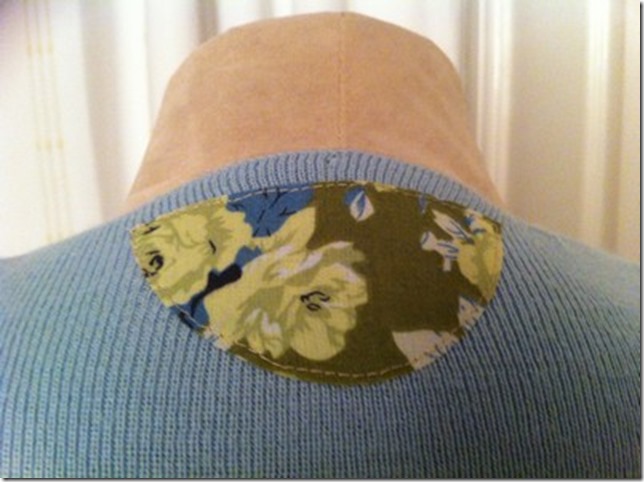
I was left with two smaller curved pieces of patch, and as necessity is the mother of invention, I decided to use them to cover a couple small holes in the sweater, which I think gives quite a quirky look to the finished item.
The adhesive used for both patches and trims is our new ‘no sew’ type, but as the garment is stretchy, and the front fastening area will have a lot of handling, I top stitched all the trims and patches for a longer lasting and more attractive result. Personally, much as l love the idea of 'no sew', in this case, stitching definitely enhances the overall appearance.
I also added a couple of contrasting fabric covered buttons, for decoration rather than fastening on this occasion. I could also have made buttonholes down the trim strip. By the way, we have recently introduced fabric covered buttons to match our elbow patches in the shop. Check the dropdown list of the patch design you like for availability.
The finished product from front:
and the back
I’d love your feedback on this refashion. Why not leave me a comment, and maybe even send me a link to your own refashion projects.








A fabulous refashion! Definitely not 'mumsy' now.
Thank you Pam! I’m looking forward to wearing it often once our heatwave passes :))